With Spring just around the corner, it is time to start getting prepared for planting your resilient garden. December and January have been spent looking through seed catalogs and placing orders for the new crops you want to try. Maybe you acquired some fun new varieties from a seed exchange or neighbor. Visions of a great garden harvest are clear in your mind. But how do you help to ensure that your seeds will become vibrant plants? In this article we will build a traditional seedling flat/box that allows for easy starting of seedlings and creates a sustainable, long-lasting container that can meet many of your garden needs.
Advantages of using wooden seedling boxes:
- Soil temperature is maintained better than plastic pots
- Durable and will last for many seasons with proper care
- Multiple varieties of plants can be planted in a single box
- Very efficient use of space in the beginning of the season (Start a lot of plants in a very small space; less area to water, heat, and light)
- Once the seed starting season is over, can be used for carrying in the harvest or displaying at local sellers' market
Building the Seedling Box
In this tutorial, we show the simple process of making a seed box with basic hand tools. We use new materials here in this first project, but recycled lumber and materials are better when available. Keep in mind that the boxes will be constantly getting wet and dry and will be in contact with moist soil. This is why we recommend using redwood or cedar for your seed box construction.
Materials List:
- 2 - 3.5" x 6' dog-eared Cedar or Redwood fence planks
- Nails
Tools:
- Tape measure
- Pencil
- Hammer
- Miter box/saw combo (for nice, straight cuts)
- Speed square
- Hand drill with bits (use a drill bit smaller than your nails - prevents splitting in your wood)
Construction of the Box
For a less stressful and simple project build, gather all of your necessary tools and materials in one spot. Our seed heating mats are about 10" x 20", and we designed our seed boxes with these dimensions in mind. This project should take less than an hour to build and is a great way to introduce woodworking and garden prep to children. Who doesn't like drilling holes in wood?
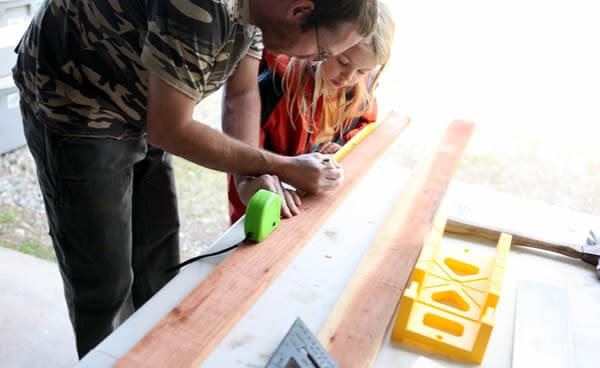
Measure out your board pieces and take special note of the width of the materials you are working with. Variations in wood width can affect the overall size of your box.
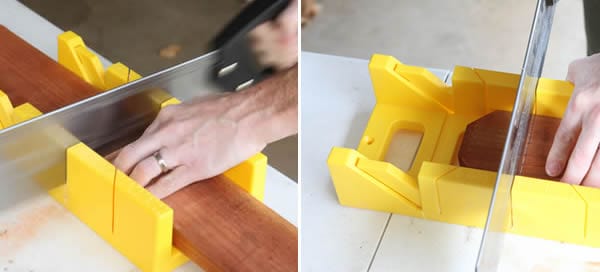
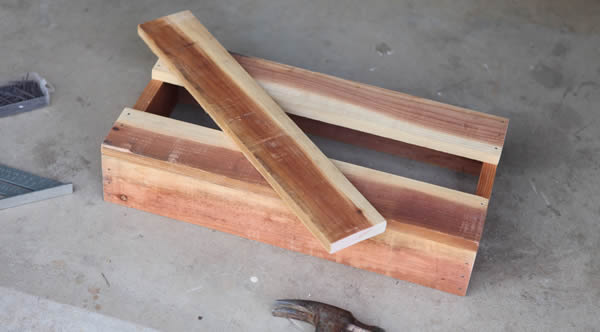
I used a simple miter box/saw combo to cut all the box planks to straight and cleanly. The dog-ear portions of the fence board are saved for use as the handles of the box.
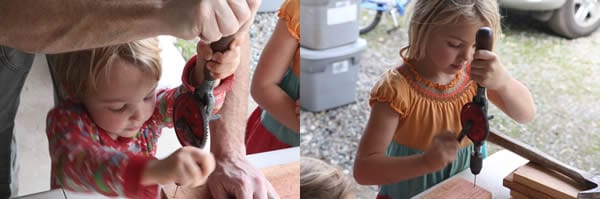
We pre-drilled all the nail holes to prevent splitting of the boards. This is a great opportunity for the kids to develop motor skills and coordination.
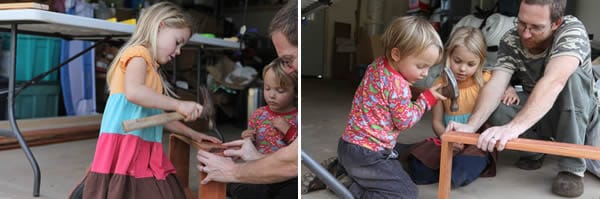
Assemble the box with three nails on each corner. I am pleased to report that no fingers or thumbs were injured in this project.
Attach bottom boards with the 2 outer boards first and the middle board evenly positioned in the center to provide drainage slits on the bottom.
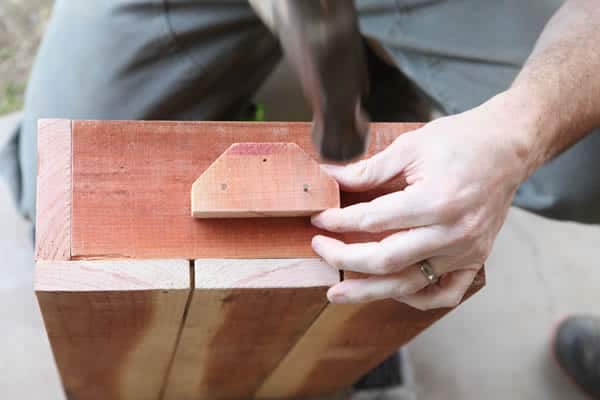
Attach the saved dog ear portion of the fence boards as functional and decorative handles.
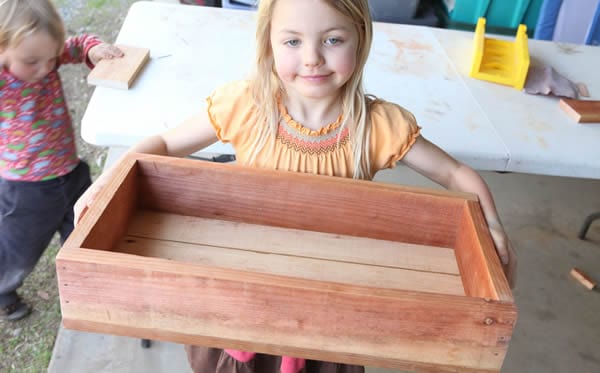
The finished product!
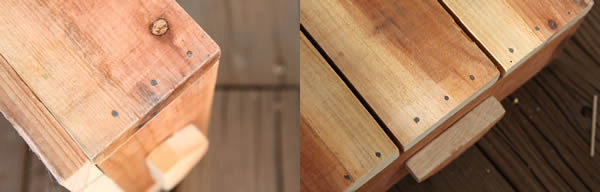
Some close-up shots of the side and bottom of the flat.
Planting in a Seedling Flat
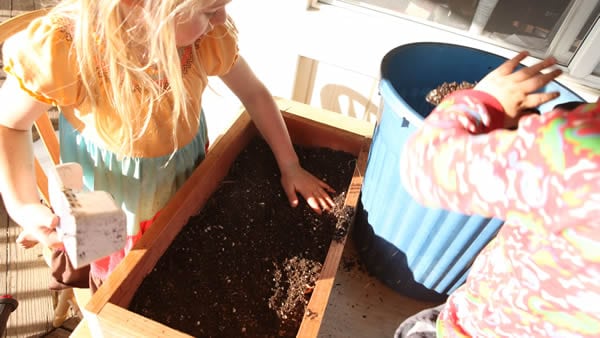
Working with a seeding flat is very much like working with potting container gardens. We start off by putting some composted leaves and base filler on the bottom of the box, followed by potting soil. Fill with you favorite potting soil or custom seedling blend.
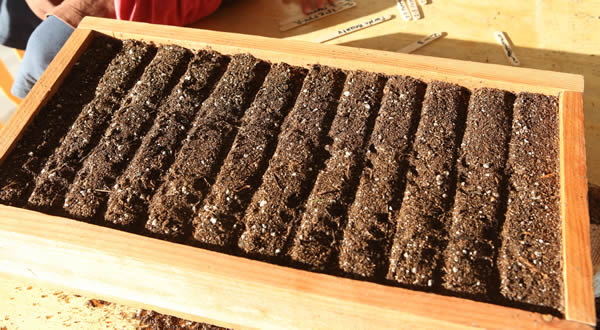
Fill the box to the top and then use a flat board to compress the soil slightly. Then make seedling furrows with the edge of the board or chopstick for the number of varieties you wish to plant.
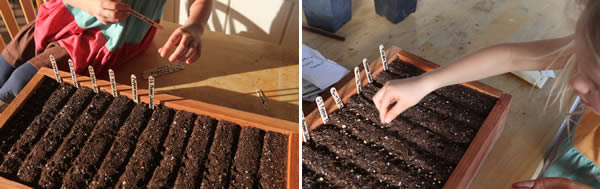
Place your plant tags (we use dollar-store popsicle sticks) and lay out your seeds with about a 3/4" spacing. Cover with the proper amount of soil for the plant type (= depth for direct sowing) and water until moist. Place on a heat mat for quicker germination and keep the soil moist until the seeds sprout. Once the seeds have two or three sets of true leaves, pot them up into larger pots.
This method of using a seedling flat for your garden starts provides an easy and efficient way to get a lot of plants going. The box pictured above has 11 varieties of pepper plants, with each row having around 10+ seeds. In a few weeks, this box will produce over 100 plants to be placed in our garden, given to friends, and sold to other members of our community. It's a great way to save time, money, and space when getting ready for a new growing season.
We invite you to try building and using a seedling box this season and welcome any comments, feedback, and tips to make our seed-starting more success in the future.
~ Three Meals Farm
This is a companion discussion topic for the original entry at https://peakprosperity.com/building-and-using-seedling-flats/