Many months ago, we learned about growing fodder for livestock (Growing Sprouted Fodder for Livestock) and how large-scale systems are being developed to reduce animal feed costs, provide better nutrition for animals, and reduce the amount of water needed to produce said feed. The small-scale commercial systems looked great, but the upfront costs and production level were simply too high to justify such a system for a small homestead like ours. We started to look for other options and ways of producing our own fodder at a lower initial cost.
This article details our current process and success at creating a system that can meet the needs of small backyard farmers and homesteaders. For less than $70 in initial setup costs, we have developed our own little home system that is surprisingly time-efficient and effective.
With our DIY home fodder system, we have found we can turn about 30 oz. of barley grain into 12 – 15 lbs. of fodder. This gives us enough fodder to feed about 3 - 4 milk goats or 15 - 20 chickens every day. The cost of fodder seed in our area ranges from $16 to $19 for 50 lbs. of barley, and this translates into $0.60 - $0.71 per day, or $18.00 - $21.00 per month for feed cost (as of December 2012).
System Setup, List, and Cost
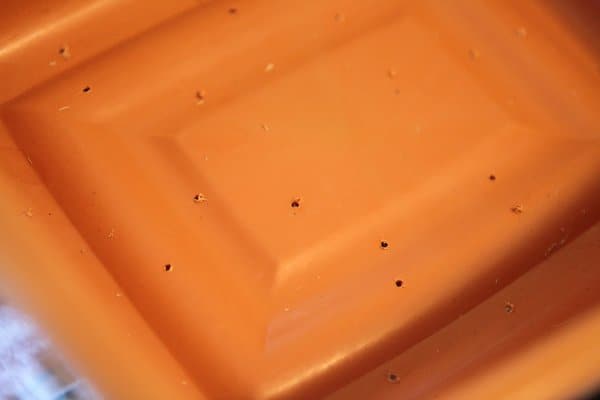
- Sprouting tubs - 5 small plastic tubs from a dollar store, with holes for drainage drilled in 4 of the tubs - $1.29 each = $6.45
- Plastic cutting board - free, as we had one we weren’t using that came with our grill
- 5 black seedling trays (available at plant nurseries and online) - $2.99 each = $14.95
- 3 high dome lids (available at plant nurseries and online) – $6.64 each = $19.92
- 2 low dome lids (available at plant nurseries and online) – $2.99 each = $5.98
- Shelving system - $21.32
Total initial system setup cost - $68.62
Our Process
In the morning…..
Every morning we take the fodder out of one tray and prepare it to feed to our chickens and goats. The chickens seem to waste less if the fodder is in one or two large chunks, and the goats like it to be cut up into smaller portions. Both the chickens and goats will eat the entire fodder - root mat, seeds, and green shoots.
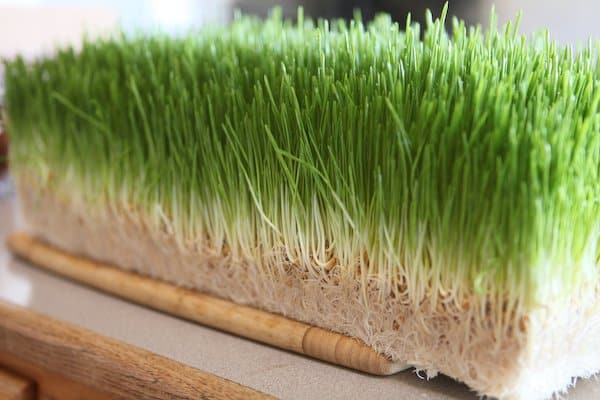
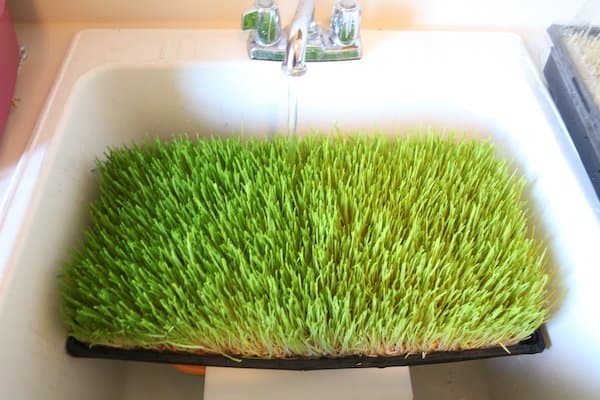
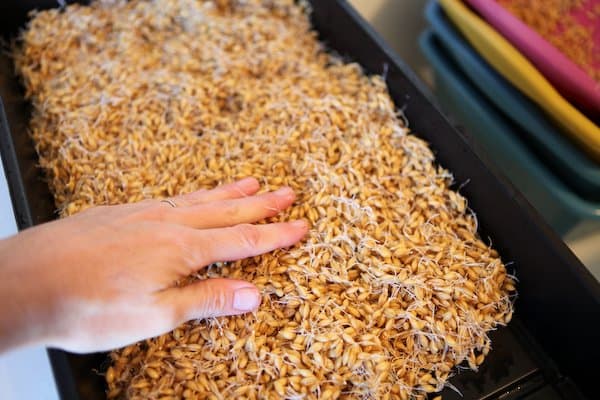
After 6 – 9 days of growth, our fodder harvest looks like this -
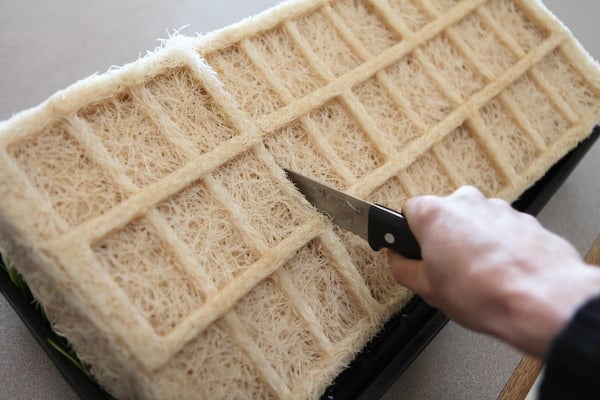
Slicing through the root mat with a serrated knife -
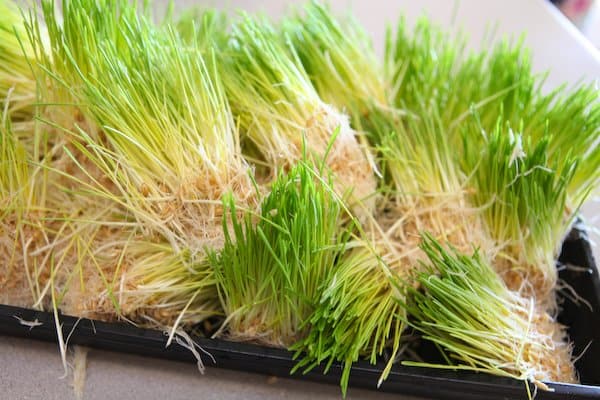
Fodder prepared for goats -
The chickens seem to go for the hidden barley seeds within the fodder first, but they eat most of the entire thing. There is very little waste.

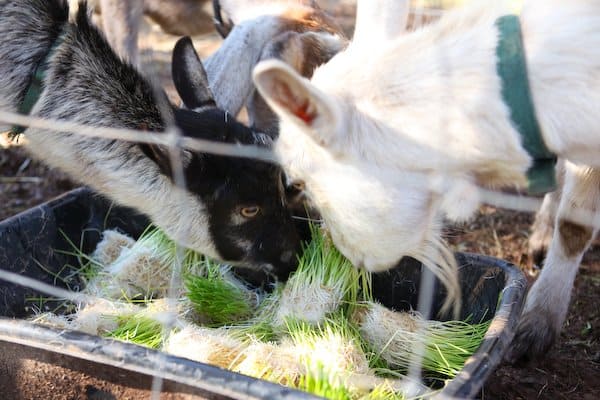
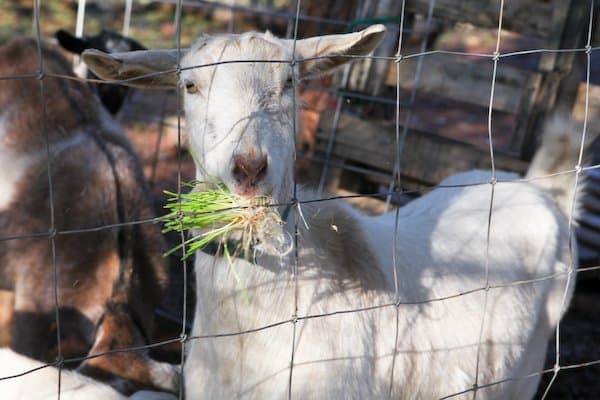
The goats LOVE the fodder!
After the morning feed, it's time to take care of the fodder-growing system.
Here are the specifics of what we do; the details for your own system could vary depending on the size of your trays and how much fodder you are trying to grow. We experimented with the amounts until we found the right amount to grow within each tray.
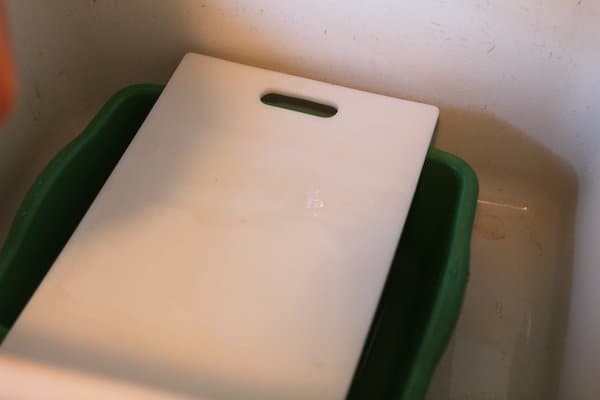
- We put the plastic tub that has no holes in the bottom of our sink and put a plastic cutting board on top.
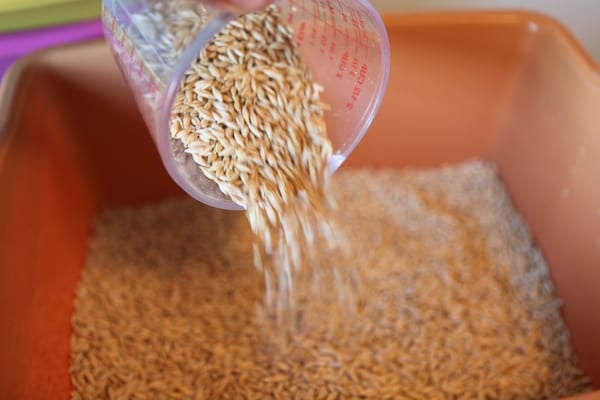
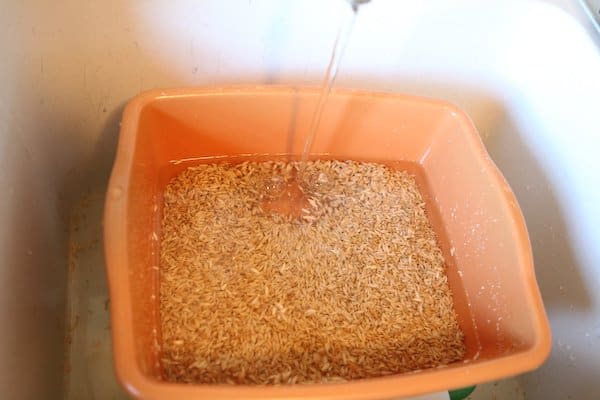
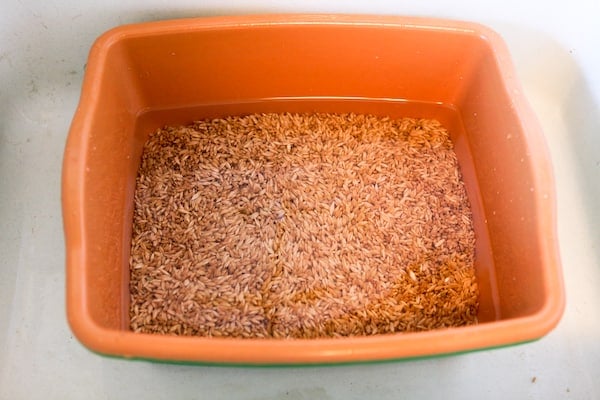
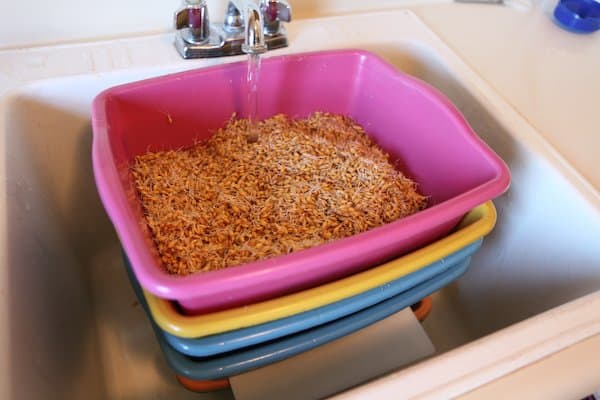
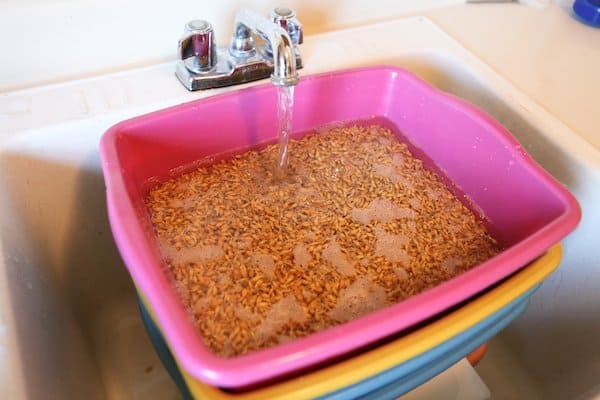
- Measure out 2 scoops of barley seed (for us this is about 5 cups, or 30 oz.), and pour into an empty tub with drainage holes. Rinse the new barley seed well, and pour off the chaff, being careful not to pour out any seeds. If you have a catch screen in the bottom of your sink, you can collect the chaff and any seeds that do happen to fall out to feed to chickens. After rinsing the seed, remove the cutting board and nest the tub with holes into the tub with no holes. Cover the seed with water (about twice the level of the seed) and a teeny glug of bleach. Commercial systems use a much-diluted bleach solution to water the fodder, which helps mitigate the growth of mold and fungus. We found that an initial 5- or 10-minute soak in a diluted bleach solution works great.
- While the seed is soaking in the bleach soak, we water our fodder trays. Our black fodder trays fit perfectly into the bottom of our sink, but we have had success watering them next to the sink as well. We use a hydroponic technique called flood and drain. Each tray is filled with water, and then most of the water is drained off. We water each tray this way.
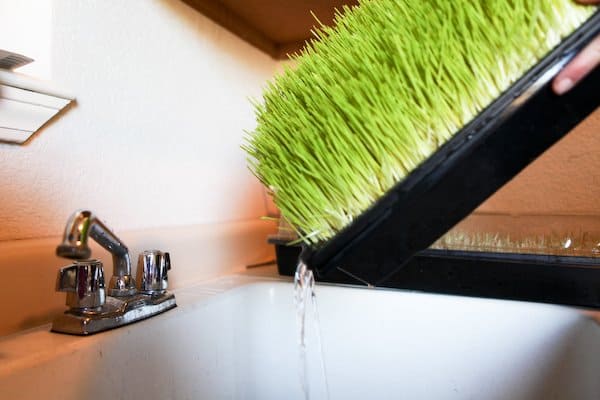
Drain off the excess water, being careful not to spill out the fodder. Once the fodder has grown a good root mat, this is very easy.
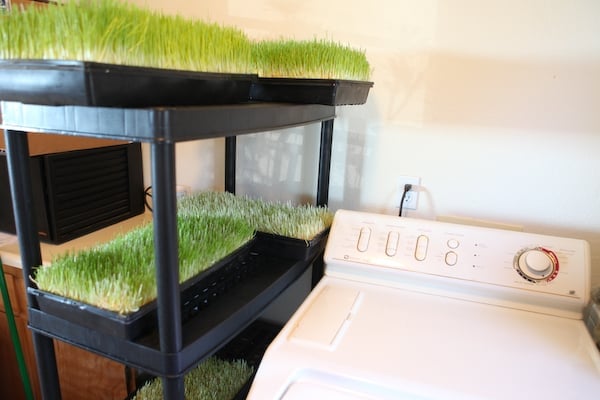
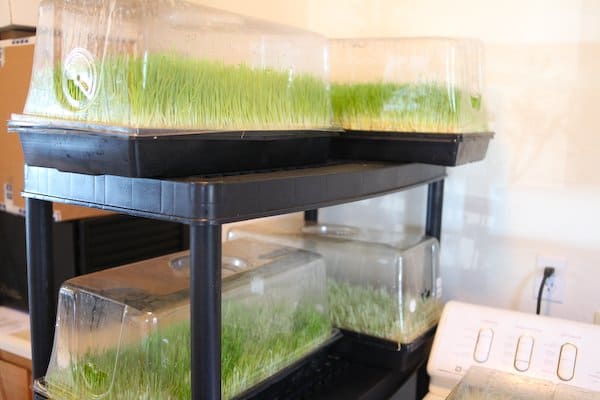
We keep our fodder trays on a shelf in our laundry room. After watering, we cover the trays with plastic dome lids.
- After watering the black fodder trays, we drain and rinse the seeds that were soaking in bleach water. We rinse a few times, and then nest the tub with the seeds into the tub with no holes, and soak the seeds in fresh, clean water. We soak these for about 12 hours.
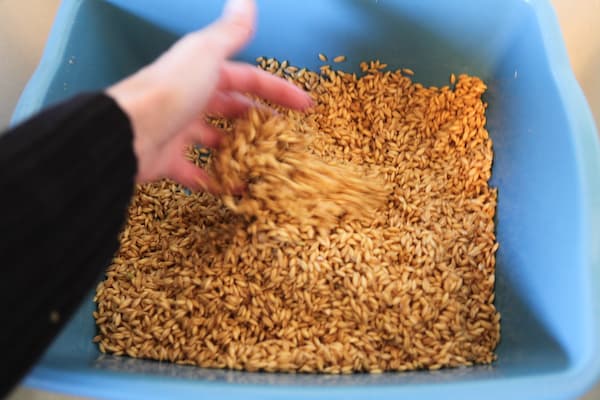
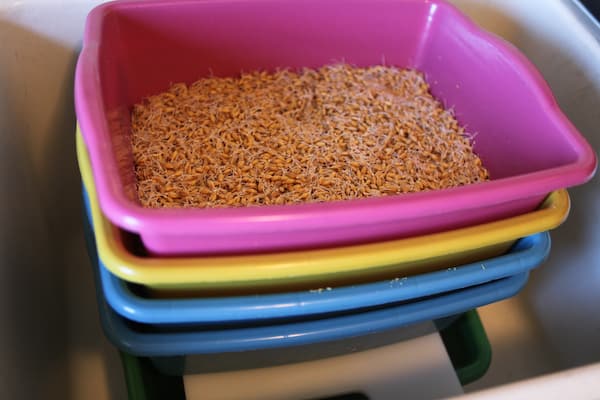
- Cover the tubs on the bottom of the sink with the plastic cutting board. We have a nested stack of another 4 tubs that contain seeds that have been sprouting for 1, 2, 3 and 4 days. Transfer one tub at a time to the sink, and nest each into the tub below. Give the seeds a good stir with your hands. Repeat with the remaining tubs. Once the last tub has been transferred, all of the seeds are easily watered by watering the top tray, and letting the water soak down through the tubs.
Give the seeds some good air circulation by moving the seeds around with your hand.
Repeat with remaining tubs, and nest each tub into the tub below, until all are moved into the sink.
Water all tubs by watering from the top.
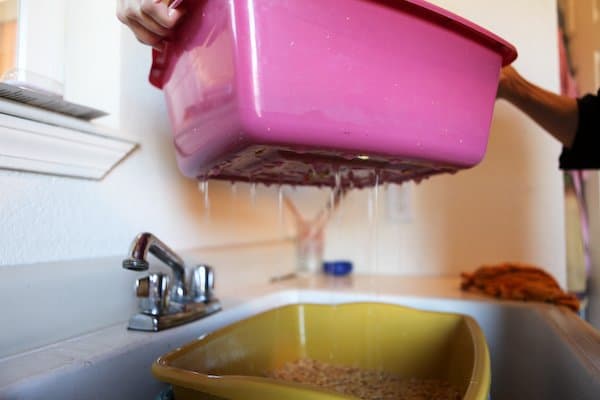
We fill up the top tub until the seeds are covered. The water then drains through each tub, watering the one below.
This photo demonstrates how the water will trickle down through each tub, thereby watering all of the seeds.
- Our seeds spend 4 days in the sprouting tubs, and then they move onto a black seedling tray. After allowing the water to drain through the top tub (which contains the 4 day sprouted seed), we transfer the seeds into a black tray.
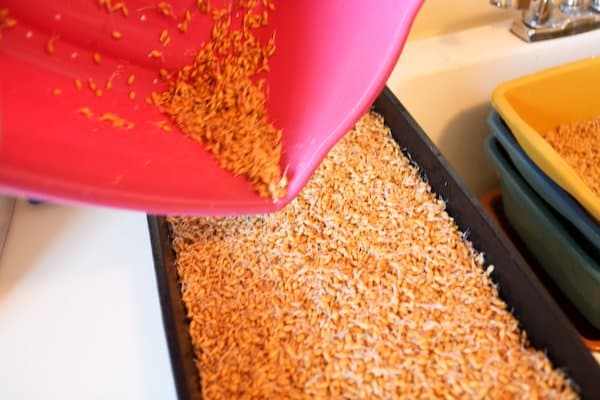
Spread out the seeds in an even layer, approximately a ¾” deep. We cover this tray with a dome lid, and put it with our other fodder trays on our shelving.
In the evening….
Our process in the evening is basically the same, except that we don’t harvest any fodder, and we drain and rinse the seeds that we started soaking in the morning. The evening tasks only take about 15 minutes of effort and ensure that all the newly sprouting seeds and root mats remain moist and continue to grow. Previous attempts at growing fodder before developing this system resulted in very slow growth due to a lack of constant moisture in the system. The trays and dome lids seem to really help in this process as well.
Some Additional Thoughts
We are currently growing our fodder in our laundry room, which is a very cool part of our house. The ideal temperature for growing barley fodder is 65-75°. Right now, being the middle of winter, we find that it takes us about 9 days to get a nice, tall growth on our fodder. When the temperature is a bit warmer, the fodder grows faster, and we could harvest within 6 days.
The seeds don’t need any light until the last couple of days. Even with large-scale commercial systems, the fodder spends only its last few days next to a fluorescent bulb. At this time, we are using natural light coming in from 2 windows in our laundry room. If you have to sacrifice one over the other, it is better to have the right temperature rather than perfect lighting conditions.
With our new DIY fodder system, we have significantly reduced our feed costs and have developed an easier way to store larger volumes of "potential" feed for when times are tough or feed costs rise. With a little extra daily effort, you, too, can grow this great feedstock and have healthier, happier animals overall.
Resources
The video here shows basically what we do with our nested sprouting tubs, and our initial system inspiration came in part from this DIY setup. www.youtube.com/watch?v=jMeLZPHoLq4&list=UUk_bdohEa3v0UtP0PB26Xbw&index=8
Some good DIY inspiration for a more automated system, but still on a small scale. They also have small scale fodder kits available for purchase.
http://www.half-pinthomestead.com./index.html
95 page (!) discussion on backyardchickens.com regarding DIY fodder systems
http://www.backyardchickens.com/t/713334/growing-fodder-for-chickens
This is a companion discussion topic for the original entry at https://peakprosperity.com/diy-home-fodder-system/