Food Preservation Methods

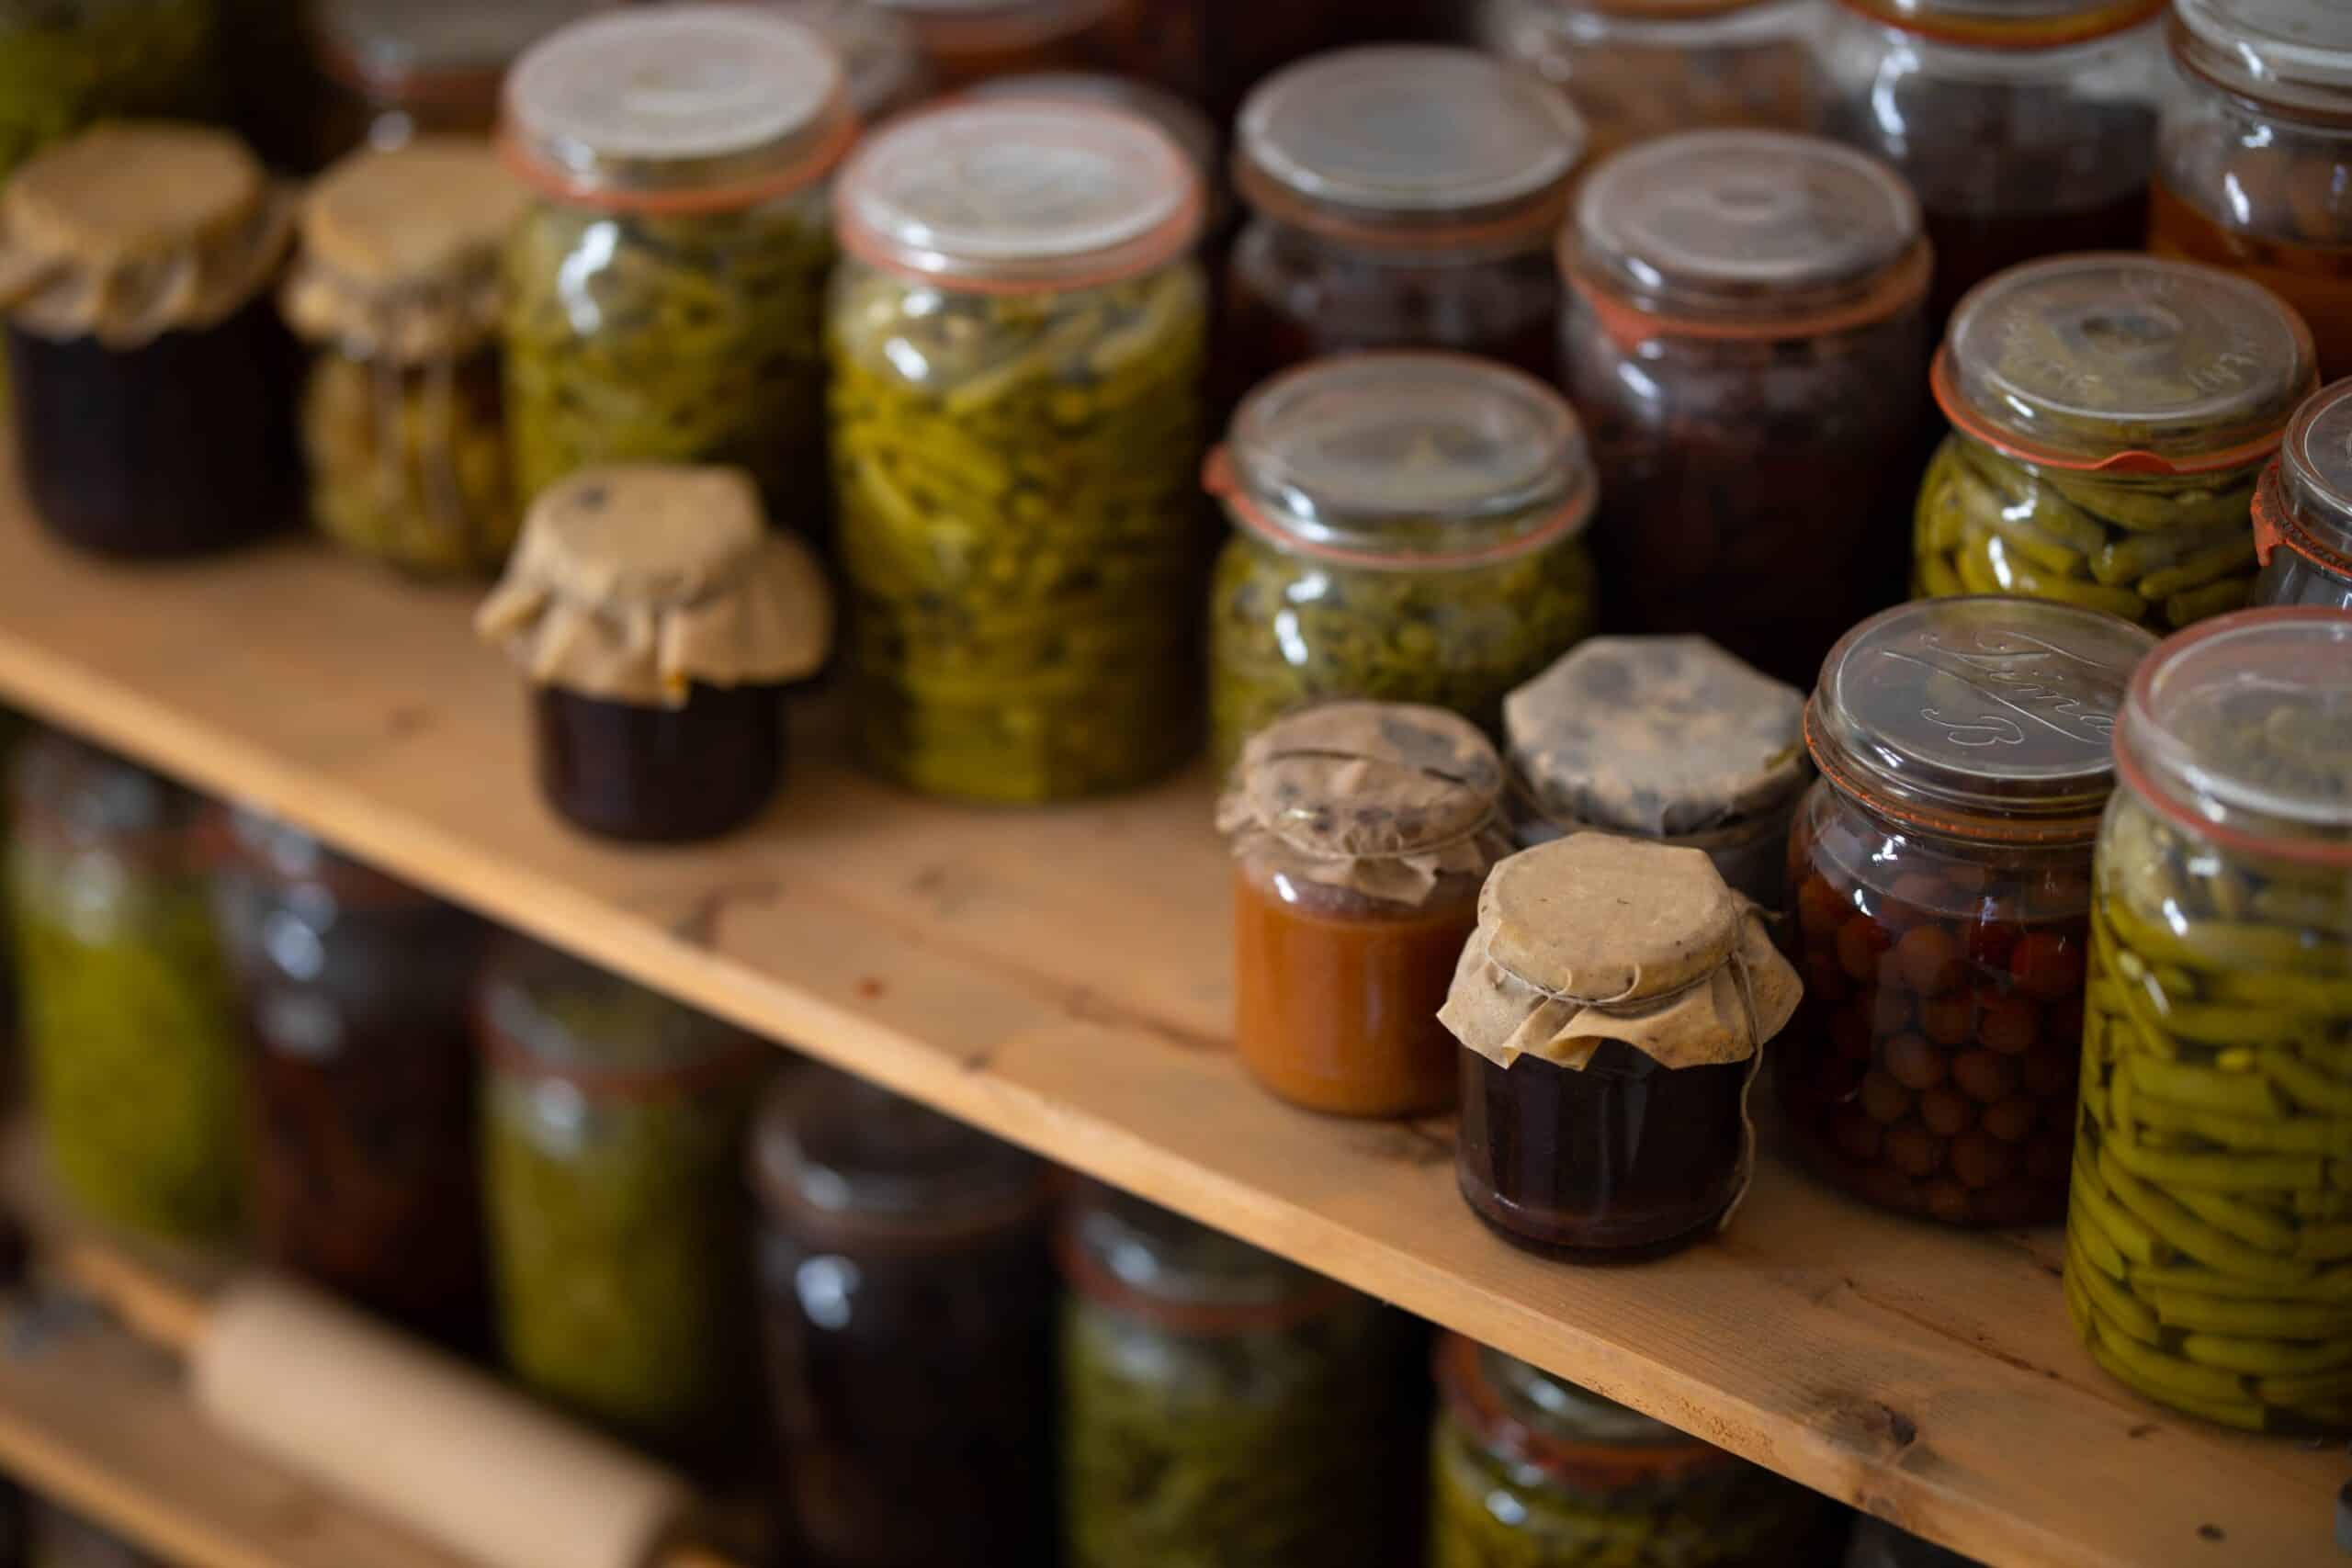
Over the last 18 months, the shortages and economic uncertainty of the nation have led to many people not only gardening but putting back food by canning and other food preservation methods. Unfortunately, throughout the COVID-19 fiasco, some food preservation products have been in short supply.

Canning jars and lids are still hard to find in some areas. In other locations, the availability is sporadic. While canning is a great way to put back food, there are some clear disadvantages too. No food preservation method is perfect for all situations. It is likely in your best interest to use a variety of food preservation methods to keep your pantry stocked through good times and bad.

This article is meant to provide an overview of the main food preservation methods available in modern times. It is impossible to put all the details and recipes I would like to in one article, so I have provided links to websites and books that offer more details. This is important since food safety is the priority. Following proper procedures for food preservation is critical. Food poisoning is no joke. At the same time, do not be afraid of preserving your own food. As long as you follow the right guidelines, food preservation is very low risk. Preserving food in season will allow your family to reap the rewards of lower food costs and better health and nutrition.

Canning

Equipment and Resources Needed

Note: You absolutely must pressure can some foods to safely can them. A hot water bath canner is only okay for some things. Most home canners eventually purchase both.

<img class=“wp-image-661886 size-medium alignright” src=“https://peakprosperity.com/wp-content/uploads/2022/01/81FV9PqECfL._AC_SL1500_-300x228.jpg” alt=“”" width=“300” height=“228” />

  • Water Bath Canner
  • Pressure Canner
  • Jars
  • Lids and Rings
  • Canning Kit: Funnel, Magnetic Lid Lifter, Jar Tongs
  • Stove and Heating Method
 

Hot Water Bath Canning and Pickling

Note on Pickling and Kraut Making Using A Canner

When you pickle foods and process them in a canner, you lose any beneficial bacteria. Sure, you may have some good flavor, but you lose a lot of health benefits. To make fermented and pickled products that have more health benefits, please see the section below.

Pickling and Fermentation Live Active Method


Equipment and Resources Needed

  • Crock (Optional. You can pickle and ferment in just jars)
  • Jars
  • Airlocks
  • Alternative fermentation containers (e.g., Crazy Korean)
  • Non-Iodized Salt
  • Vinegar


If you ever find yourself with a lot of mixed vegetables in the fridge that you don’t want to waste, you should consider pickling them using a live active fermentation process. I prefer to use Crazy Korean fermentation containers because they fit well in the fridge, come in a variety of sizes, and they allow you to make smelly fermented products like Kim Chi without stinking up your house. If you want to learn how to ferment a variety of foods, I advise picking up a copy of “Wild Fermentation” by Sandor Katz and exploring online recipes.

[caption id=“attachment_661889” align=“alignnone” width=“1536”]<img class=“wp-image-661889 size-full” src=“https://peakprosperity.com/wp-content/uploads/2022/01/IMG_9979-1-1536x1024-1.jpg” alt=“”" width=“1536” height=“1024” /> I do use an old fashioned crock sometimes because I have one from before I discovered the Crazy Korean Fermentation containers like the small one in the window.[/caption]

Pressure canning some foods is mandatory.

A lot of foods require pressure canning. The reason for this is that some foods are too low acid to be safely preserved using a hot water bath canner. Although pressure canning takes a lot more time and energy, it allows for safely canning high-calorie foods like meat stews.

Canning Directions

All foods have specific guidelines for safely canning. I recommend always checking with a reputable canning book or looking up directions at The National Center For Home Food Preservation website. The website is operated by the University of Georgia and contains everything you need to know to safely preserve anything in a jar! In addition, they publish a book that includes the canning instructions from their website. For a mere $20, you can get a book to have on hand no matter what you want to can.

Dehydrating

Equipment and Resources Needed
  • Dehydrator or Solar Oven
  • Electricity if using a traditional dehydrator
We love our Nesco food dehydrator. For some foods, it makes so much more sense than canning. For example, we can dry and preserve our Shiitake mushroom harvests with ease simply by placing whole mushroom caps in the trays, breaking them up into pieces, or slicing.

Dried tomatoes are another easy solution to a bountiful harvest.

Beef Jerky

If you like beef jerky, then you know how expensive it is. You can make better jerky at home for a lower price. Beef jerky is one of the simplest shelf-stable cured meats you can make.

To make jerky, you need the following:

  • Food dehydrator with fan and temperature setting. The Nesco is your most affordable quality option.
  • Beef roasts for cutting into thin slices
  • Jerky cure with spices.
Note: You can make your cure using Prague Powder and spices; however, I recommend just using a premix the first few times you make jerky to get some experience and a good result.

A meat slicer can help you get thinner cuts. If you plan on doing a lot of value-added food processing at home, it might be worth investing in one.

The Basic Process

Note: Most dehydrators have a specific number of trays they recommend using when curing meats. For our Nesco, you are not supposed to stack more than 4-5 trays when doing jerky, whereas you can use up to 12 trays when drying fruit and vegetables. Using fewer trays means the meat is dehydrated faster and eliminates the risk of spoilage.

  1. Slice meat very thin. Thicker cuts take longer to dry and result in tougher jerky.
  2. Place in bowl with cure mix. Follow directions precisely. It is critical to use the right amount of cure for food safety.
  3. Cure the meat for a specified time. Typically this is up to 24 hours, covered, in the refrigerator.
  4. Lay jerky strips flat on dehydrator trays. You can place them close to each other but make sure they don’t touch.
  5. Turn on the dehydrator to 165F. The Nesco has clear markings for different foods, so it is hard not to get this right.
  6. Dehydrate as long as needed. The total time depends on how thick your cuts are.

Freeze Drying

Equipment and Resources Needed
  • Freeze Dryer
  • A reliable source of electricity
There is currently only one brand of home freeze dryer available to the public. Harvest Right makes a small, medium, and large freeze dryer. Those that get them seem to be very happy with them. When they first became available to the public, they had their issues. At this point, those problems have been fixed. It shows that it is not always good to purchase a product immediately upon release to the public.

The downside to freeze dryers is that they are a significant investment. You need to make sure that you will utilize your machine enough to make it worth it. They also require a steady and reliable supply of electricity. You can speed up the freeze-drying process by pre-freezing foods in a regular freezer, but again, this all requires electricity which costs money.

  • Freeze drying at home is far less expensive than buying a lot of freeze-dried foods. You also get to be picky about the ingredients and quality of the foods you are freeze-drying.
  • Freeze drying eliminates the need for jars, canners, and other sometimes hard-to-find supplies and equipment.
  • Foods that are freeze-dried take up far less space than freezing or canning. If you are short on space and want to put back a lot of food with a long shelf life, then a freeze dryer may be just what you need.

Meat Curing

Equipment and Resources Needed
  • Curing Salts: Prague Powder #1 or #2, depending on what you are doing.
  • A safe place to store meats as they cure
  • Refrigeration or a very cool place
  • Casings for cured meats
  • Lots of non-iodized salt
  • Smoker if desired. Smoking does help with shelf life and adds flavor but you can also just cure meats without smoking them too.
Note: Cured meats can also be dehydrated. A quick cure and dehydration is the fastest way to make beef shelf-stable without pressure canning.

When my husband and I were living in a camper and building our small house, we raised a lot of pastured pork. We cured some bacon and ham. Years later, we raised some beef and cured and smoked some tasty summer sausage.

Some cured meat products are shelf-stable with no refrigeration, while others must be kept cold. Bacon is a good example of a cured meat that still needs refrigeration. The curing process helps extend the shelf life and changes the texture and flavor of meats. Uncured bacon cannot be kept in the refrigerator as long as cured bacon.

Country hams are one example of a cured meat that doesn’t require refrigeration. Curing, smoking, and heavily salting the meat lends a product that is safe and stable for a long time. The heavy salting that is required means that meats often have to be soaked in water, and the water is thrown out before they are eaten. The alternative is to use the country ham to flavor things like a big pot of beans. You simply make sure not to add any other salt to the dish.

We keep some country ham on hand as part of our emergency food supply. As I said, it adds some much-needed flavor to bland foods like beans.

Curing meats properly is a bit of a process. Different meats have specific requirements that must be strictly followed to avoid spoilage or illness. Never skip steps or take shortcuts when curing. Don’t listen to people that cure their meats and take obvious shortcuts while telling you, “I have done it this way for years” or “My grandma or grandpa did it this way and never got sick.” Guess what? People got sick from food all the time years ago, and you probably didn’t hear about it. Some of the canning methods and other food preservation methods I have seen practiced by older people are correct, but there are definitely some that have just been downright lucky they have not gotten serious food poisoning like botulism.

Freezing

Equipment and Resources Needed
  • Freezer
  • Freezer Bags
  • A reliable source of electricity
In the preparedness community, people always discuss what a disaster it is when the power is out and you have a lot in the freezer. I think it is time we reevaluate freezing as a method of food preservation. Freezers and the availability of backup power have changed greatly within the last five years.

The Facts

Modern freezers do not consume near the same amount of energy as older models. Therefore, it is far easier to use a backup power source to keep foods frozen during grid-down emergencies when the amount of energy consumed is kept low.

In the past small and large freezers used similar power supplies. You didn’t save a lot of energy by purchasing smaller freezers.

Backup power is more accessible. Not only has the cost of power centers and solar panels dropped dramatically over the last decade, but there are also more choices available than ever. More choices and production have kept prices in a more affordable range.

Our Freezers

We have a 20-year-old upright freezer that we were given by parents when they decided that one freezer was enough for them. This is a great commercial-grade freezer that is still going strong. The problem is that it requires defrosting much more frequently than modern freezers, and it burns five amps of power.

Our smaller chest freezers were purchased within the last 18 months. They have five cubic ft of space and burn around 1.5 amps. The cost for each freezer with tax and delivery from WalMart.com was $186. Not bad at all. They are light enough for a single person to push around and move when they are empty. The 1.5 amp power consumption means we can use a solar panel and Jackery Power Center to keep things frozen during a grid down situation.

<img class=“alignnone size-full wp-image-661893” src=“https://peakprosperity.com/wp-content/uploads/2022/01/Chest-freezer.jpeg” alt=“”" width=“612” height=“612” />

You might be saying, well, no wonder they burn less, that is a much smaller freezer. Remember what I said about older smaller freezers burning just as much as large ones? This is where I like to point out to people that they may be better off selling their older but still working chest freezers and buying a modern freezer or two. I like having multiple smaller ones because it allows for easier organization of foods.

Freezing foods from your garden, such as green beans, will also free up your canning jars for foods that are higher in calories and overall nutrition. What if you couldn’t keep your freezer going during a long emergency? From a survival perspective, I would rather lose vegetables than meat. Also, consider that meat will last longer if canned properly and ready to eat compared to meat put in the freezer. Even with good vacuum seal bags, meat in the freezer doesn’t last as long as canned.

Preserving Eggs

There is a time of year when a lot of backyard chicken folks have an abundance of eggs, and then there are the leaner months of winter. Instead of relying on the grocery store for eggs during the leaner months, you might consider preserving your eggs. It is not hard or expensive to do. Here are a few options to consider.

Pickling

You can pickle eggs and keep them in your refrigerator for months at a time. Here are a few links to some great recipes.

Easy Pickled Eggs

Pickled Eggs with Beets

Spicy Pickled Eggs

Freezing

Over the years, I have had many readers comment on how they freeze liquid scrambled eggs in ice cube trays and then transfer them to freezer bags. These eggs can then be unthawed and used to make scrambled eggs or for baking.

Water Glassing

If you want to store eggs in their shell for a long time, water glassing is the way to go. This method uses pickling lime or slaked lime. Eggs can stay good to eat for years using this method. Here is a video that shows you how to do this.

[embed]https://youtu.be/bTlcCvvUjl0[/embed]

Coating in Oil or Wax

Dipping eggs in paraffin wax seals the porous exterior and preserves them. You can also use oil to do this, but wax makes a thicker coating. People used to use lard for this purpose. Sealing the eggs allows you to keep eggs in a cabinet or on the countertop for several months. However, any amount of refrigeration or reduction in temperature will help further the shelf life of your eggs.

Note on Dehydrating Eggs

Currently, there is no at-home method for dehydrating eggs that are considered safe. The risk of botulism is the reason food safety experts give. Unfortunately, this is another one of those cases where many people do it anyway and get away with it. I tried it a few years ago but deemed it not worth the risk when there are so many other options for safely preserving eggs. Freeze drying is the only method that is safe and currently available for home use.

Conclusion

It is important to learn how to preserve foods using a variety of methods. Relying on one method is not always possible during times of shortages. Some foods are easier to preserve using some methods than others. For example, dehydrating mushrooms takes a lot less work and resources than canning them and results in a more useful product.

Remember to do your homework and make sure you are using a food preservation process that is actually safe. Never take short cuts.


What are your favorite food preservation methods? What are you doing to make up for shortages on canning supplies?

This is a companion discussion topic for the original entry at https://peakprosperity.com/food-preservation-methods/

My opinion on Freezers. I prefer a regular chest freezer to a no-frost freezer. I know you have to defrost it now and then but I find it’s only about once every year and 1/2. Why do I prefer it? To keep a freezer frost free the freezer must cycle the temperature. To eliminate ice build-up the freezer has to warm up to appx 32 degrees Fahrenheit with a blower fan to move moisture out of the unit. The food then cools down before it has a chance to thaw. Proper packaging will protect the food in the freezer, so the few short minutes needed to heat up the compartment won’t affect the quality of the food in the short term. However, over the long run, most people notice a difference in quality. This is not a safety issue but a quality of food point. I like to keep things I am using soon in my frost-free upright and keep the long haul in the chest freezer without a frost-free option.
Samantha Biggers has given a great overview and listed great links to great recipes and advice above that outline food preservation. If you have the extra money (54.00) I highly recommend the book “Fundamentals of Consumer Food Safety and Preservation Master Handbook” It’s put out by Washington State University and used by the University of California in its master food preserver program. It covers all the safety issues and why and wherefores. https://pubs.extension.wsu.edu/fundamentals-of-consumer-food-safety-and-preservation-master-handbook-replaces-em4895 I think it’s always good to have some hard copies of instructional books in case your internet goes down. The book “So Easy to Preserve” has a lot of great recipes. The main thing is to get a recipe that is research-based, a lot of things our grandmothers did have some inherent safety issues even if they did it that way for 50 years without a problem. lol And some recipes on the internet are not safe.
There is most likely an MFP (master food preserver) program in your area if you are in the states and they love to help with classes, recipes, and information.
From Coop’s wife

6 Likes

I have done traditional American modern food preservation for a long time. (Mostly water bath and pressing canning with some dehydration. ) About 8 or 10 years ago I started learning old world preservation methods. Those not requiring difficult to replace supplies or many modern tool that run on electricity. First, a friend who was making fermented kraut and other ferments for a deli in Vermont taught me just how simple sauerkraut was to make. (Sandor Katz and his amazing books did the rest.) She also gave me a scoby for making my own kombucha.
From there I was hooked. I needed to know–How did our ancestors preserve the harvest? Turns out they did it in a myriad of ways that have been nearly lost to us. Interested? My recommendation is that you start with the book “Preserving Food Without Freezing or Canning” https://www.johnnyseeds.com/tools-supplies/books/preserving-food-without-freezing-or-canning-the-gardeners-and-farmers-of-centre-terre-vivante-9237.html
As for the eggs–this video is worth watching! While this isn’t truly waterglassing (different chemical) it is a reliable way to preserve butt nuggets. It’s 9/22/21 and I am still experimenting with 2020’s eggs–so far so good! 2019 was my first year and I did very few–thought it was too good to be true. An ounce of Mrs Wages pickling lime and good old H2O–no refrigeration?That’s impossible! Nope. Works fabulously. Yolks break but are still usable and very little off taste. At this stage/their age, I mainly use them in recipes calling for eggs, not egg dishes.
2021 is the year is the year of dehydrating experiments. Trying nearly everything worth trying. Most surprising yet, eggplant. Both slices and grated ( for vegetarian meatballs)–rehydrates unbelievably well. Confession though, I use an electric dehydrator rather than a big outdoor one most of the time. Hey, the skill transfers easily.
My suggestion if you’re a novice to food preservation is to think carefully about what you will realistically eat and learn to preserve that safely and well.
I got a master preservation certificate from an offer through our cooperative extension although that was not necessary to do it safely. Most of all, know you will have some failures along the way but be proud of your successes.

4 Likes

The thing I’m most interested in is preservation of meat.
Should you make it into a stew type thing before pressure canning, or can you just pressure can the meat on it’s own?

1 Like

@MsSmith, You can pressure can meat without any prior preparation. I have experimented with raw pack (cutting meat into chunks, filling a quart jar, and pressure canning with no liquid or spice additions) and hot pack (heating the meat first, generally by browning it, and adding a broth of some kind). In my experience, the resulting meat is the same in texture. The advantage to not browning is time; the advantage to not spicing or adding broth is flexibility of uses. Pressure canning quarts at sea level takes 90 minutes at 15 psi; pressure canning pints at sea level takes 75 minutes. Same number of jars fit. Makes perfect sense to me to can in quarts.
BTW, it’s not essential to cut meat into cubes to can. If you can get a chunk of meat into the jar, you can can it.

It’s not necessary for the meat to be submerged; exposed meat might degrade in flavor faster - we’ll see. But it’s so little in the whole that I doubt that would be noticeable in a dish. All of the liquid is from the meat: fat and interstitial fluids.
I
My go-to canning site is run by a fellow Vermonter: https://practicalselfreliance.com.

6 Likes

1. I use a fermenting crock with a water lip. The water ring prevents air from entering the crock, which can lead to spoiling, but still allows fermenting gasses to escape. (And it makes such a delightful little musical ‘plop’ as gas bubbles emerge that bring a smile to my face.)
I overpaid for the one in the photo. Plain white versions are available on Amazon. The last time I looked, a few months ago, they were $60 for the 5 Liter size that I use. And they come with ceramic weights to help keep ferments submerged - esp if you lay a few cabbage leaves across the top of the ferment, than add the weights. (The crock does not have to be filled up.) The result can be stored in the crock, but I transfer to quart jars. Keep the jars on the shelf and fermentation continues, making ever softer veggies. Store in the refrigerator to reduce the rate of ongoing fermentation. For a crispy kimchi-style of ferment, 3-4 days is plenty of time, but more is fine - depending on how soft you want the result. We make “kimchi” from any and every root vegetable, and play around with spice and herb flavorings. This photo is of a mix that included beets (obviously). Fresh tumeric root is a delicious, and colorful, addition.

An inexpensive alternative: to make ferments right in the jar, check out “fermenting lids” on Ebay or Amazon. They provide one-way air locks to the top of wide mouth canning jars. You can get 5 or 6 for about $8.50. It’s a perfect solution for making small quantities, too.
2. I just started water glassing eggs this spring. I put aside two 1-gallon jars, each with 24 of our very oversized eggs as an experiment. Now that the 3-year old girls have decided to quit laying all at the same time (no eggs for 3 days, now), it looks like we’ll be testing the results over the winter, I guess. I bought 10 lbs of calcium hydroxide (pickling lime) at a great price - far cheaper than what retail stores charge for 8 or 16 ounces. (Here’s a link for 5 lbs for $12 that I just pulled up on Google). Great for making pickles, too, btw. I took the photo below to memorialize my first day’s egg preservation.
Note: you need fresh, dry-cleaned eggs from the hen. You can’t use store-bought eggs because (a) they’re already old, and (b) perhaps more importantly, they’ve been washed and that removes the bloom, which unseals the shell’s pores and allows transpiration - so the limed water will get inside and ruin the egg. I can keep eggs on the counter, as in the above photo, because of the intact bloom, which prevents air transpiration, hence greatly slows down spoiling - countertop eggs are good for at least 3 weeks, in my experience (but you’ll know by the look and smell of the yolk and white if one’s gone bad).
Image shows fresh, unwashed eggs submerged in pickling lime-saturated water in a glass jar, next to a 5-pound bag of pickling lime (calcium hydroxide).
3, We make a lot of beef jerky. I have a simple, shelf-stable recipe. I cut the jerky thin (about 1/8" but sometimes up to 1/4"), then soak it for 24-48 hours in a 50:50 mix of organic tamari (bought by the gallon, inexpensively) and non-chlorinated (ie, well) water. Drain and dehydrate. We’ve been doing that for years; the tamari preserves the meat in a shelf-stable form. (My wife prefers a crispier, less chewy jerky, so we make some out of ground round rolled thin on parchment paper that are placed on the drying racks.) From time to time we add seasonings to the meat as it goes into the dehydrator but, overall, we prefer the basic recipe.

7 Likes

I like the All American canners as they have a metal to metal seal, not a rubber seal that needs to be replaced. I found a couple of old ugly canners on ebay that someone’s grandma had been using for years, they work, and they work well!
We LOVE vacuum seal bags, for freezing they are really wonderful. Bags are a bit expensive so we placed a bulk order out of…China. We have a lifetime supply of canning lids, again a bulk order from Fillmore Container of both sizes.
We also built a stacked block smoker similar to this https://www.instructables.com/Cinder-Block-CMU-Offset-Smoker/ we can cold smoke and hot smoke as well.
Food preservation seems to be more of a way of life rather than an event, just keep poking away at it and it is surprising how much of your own food can find it’s way to the table. I was eating some four year old chicken fried venison (the venison was four years in the freezer, not the chicken fried version) last night as my wife and I watched Chris’s latest video, seven quarts of tomato soup were in the canner. Those tomatoes had big worm holes in them and were not saleable, sure were fine for soup!
Compost gardening anyone? As I tossed the scraps from the cut tomatoes into the compost pile I noticed we have potato, pumpkin, basil, butternut volunteers that are loving life.

5 Likes

This is my own recipe. It’s great as a snack, as a garnish for an India-inspired main dish, and even when turned into egg salad or deviled eggs. (I make a homemade curried mayo for that.)

Indian Curry Flavored

Ingredients
  • Eggs to fill quart canning jar (8-9, depending on size)
  • 1½ cups distilled white vinegar
  • ½ cup water
  • 2 tbsp sugar
  • 2 tbsp salt
  • ½ small onion, thinly sliced
  • 2-3 cloves garlic, cut in quarters
  • 1 Cinnamon stick, broken in 2 or 3 pieces
  • 1½ tsp garam masala
  • 1 tsp whole peppercorns
  • 1 tsp mustard seeds
  • 1 tsp cumin seed
  • 1 tsp turmeric powder, or 2-3 tsp grated fresh turmeric root
  • 1 tsp curry powder
  • ½ tsp coriander seed
  • ½ tsp fenugreek seed
  • Âź tsp fennel seed
Directions
  1. Hard boil the eggs, then let them cool. Shell and place in jar.
  2. Add sliced onion, garlic, and optional fresh turmeric to jar. Mix spices together, then add to jar.
  3. Combine vinegar, water, sugar, salt in saucepan. Heat gently until sugar and salt dissolve. Pour warmed brine into jar, filling to Âź inch from rim.
  4. Tighten lids. Place in refrigerator. Let steep at least 24 hours, but they're best if let steep 7-14 days.
Note: pickled eggs must be kept refrigerated because the yolk is so dense there's no guarantee that the vinegar will penetrate to the core and so prevent botulism, even with weeks or months of storage.
7 Likes

hey

Hey Guys, I'm making $4000 per month with this awesome home based system, enough for me to make a living. You don't need to invest anything, It's totally FREE! you just have to download it, here's the link...>>> https://www.jobsapp1.com

I’ve been canning for years, but I stick to jams, fruit juices, and acidic foods. I discovered while traveling overseas that in many European countries, people just use ordinary commercial jars that came from the supermarket, with their original lids. I started doing this (for jams, and acidic foods) and discovered it works fine. Also I have been reusing lids for some time, without any difficulty. I think American consumers have been sold a bill of goods re “canning jars” frankly. This is just my own experience. I do not can high-risk or low-acid foods. Perhaps there is some benefit to using canning jars in that case, I don’t know. But for making jam, don’t let lack of canning jars stop you.

4 Likes

I think the preservation method that accounts for the largest amount of food preserved is not mentioned, cold storage. Similar to using a root cellar, it is the best and easiest method of preserving all root vegetables, and a number of other fruits and vegetables.
I have just finished harvesting my extensive vegetable garden, and have five gallon buckets of carrots, beets, rutabagas, turnips, and potatoes. These will stay all year in my extra refrigerators, or in my garage which does not freeze. My 200 lbs. of onions and my garlic will keep the whole year round in an unheated room, along with all my winter squashes and apples.
The very best reference on cold storage is the book “Root Cellaring”
https://www.amazon.com/Mike-Bubel-Author-Nancy-Cellaring/dp/B00366HMAG/ref=sr_1_3?dchild=1&amp;keywords=root+cellaring&amp;qid=1632603241&amp;sr=8-3

4 Likes

Health

Willpower acts very much as a muscle does. It gets stronger the more it gets exercised. But it also tires throughout the day, which is why most “bad” eating happens at night, when our mental resolve is sapped. Americans often eat 50% or more of their calories late in the day, going to bed on a full stomach that spends all night figuring out how to store the mass of food just ingested. You should aspire to the opposite. Eat the majority of your calories in the first half of the day while you’re active and need energy, and let your digestive system shut down at bedtime without burden. Personally, I found that switching to a light dinner, or sometimes skipping dinner entirely, had one of the biggest impacts on dropping my weight.

Food

I’m very fond of food that isn’t ordinary. I try to travel and choose gastro tours. In one of these tours I learned about salmon pate and then found a site where you can buy premium salmon pate online. It has great prices and very fast delivery. Now I can spoil myself with delicacies and for this I do not even need to travel anywhere.

Posted in wrong area

I was just reading an old time book and they told about how their mother would put cabbage or other veggies in a 4 foot deep hole lined with stray and it would keep for a very long time.

From survivalblog.com this morning, free government canning books:

https://nchfp.uga.edu/resources/category/usda-guide#gsc.tab=0