Thank you! I haven’t “done” onions yet, as our farm down the road has had them, but they are getting into other things so I was thinking about this. Also, although I’ve grown potatoes for years, I haven’t cut them - you refer to “halved” potatoes. Does this just multiply the number of plants you get, or is there some other advantage as well? (I usually have too many left over each year to bother with getting more plants, but that may change!)
Many of my potatoes had eyes starting at both ends, so I cut them in half to get two plants. There wasn’t more than 2 dozen potatoes to start.
Not sure how many I will need once I get the small bed they are going into cleaned out. Its been raining here a lot. But once I start, I want to plant the best ones first and pitch the ones that are still small.
I did notice that a few, that had tiny sprouts to start, would go off. The potato half got mushie and bad smelling. Those got pitched as soon as I noticed it. That might have been because I cut them open though.
I also had lots of trouble with onions from sets bolting, this is because the plant is bienniel, it sets seeds the second year, so at my location, the sets would see themselves as being in the second year. I realy do not understand how sets ever work, but I guess in some growing areas they do ( we have a realy wild springs with super unstable temperature swings, cold to hot to cold…which may be why sets do not work here) What we have to do in this area is just start onions from seeds, then they are starting out in the first year. The other reason the seeds work better is that then I can plant the right breed for my area, the sets are for very limited varieties. SOme years when I cannot start seeds I have ordered started plants from Dixondale Farms, and these also work realy well. Try some from there next year, before devoting time to seed starting and see the difference. Last year I grew out Highlander onions from them, they are long storage onions that work in an intermediate area, they realy did do well here, both for growing and for storing. SOmetimes I organize bulk buying from them, as the more bunches that are ordered, the cheaper it gets ( so if you get 8 bunches, it is $5 a bunch instead of $12, and each bunch is 50 or more plants, 2 bunches gets you 2 onions a week for the year in yield ). Facebook gardening groups help with that co-ordination https://www.dixondalefarms.com/product/highlander/long_day_onions
You may have some of your bad results ( rot losses) from the potatoes because they are not in the soil, they would rather be in the soil than on the wet paper towels.
I recall, but do not take this as gospel because I cannot remember the source, that you could also be affecting yield by leaving the stems to green up and leaf out for so long. Basically those stems think they are the above ground part of the plant now. The part of the stem that is underground is the part that puts out the laterals that form potatoes
Potatoes do not form any potatoes lower than the piece that you plant, all potatoes are formed above, between that piece and the top of the soil.
I usually cut the potato in parts and let them sit for a day or two before planting them in the ground. Since I have raised beds I don’t bother to mound the plant. I get tons of potatoes and lots of volunteer potatoes throughout the garden. I still remember a trip years ago high in the sherpa region of Nepal where the locals were harvesting potatoes from the steepest, rockiest, least forgiving looking land you can imagine…practically vertical. Potatoes are tough and awesome!
Thanks for the pointers.
So far I haven’t had any of my onion sets go off early. I buy mine from a local family owned hardware store that carries seeds, seed potato and plants. What I get in bolting is from the previous year’s crop that I didn’t harvest.
Here is what I’ve got this year.
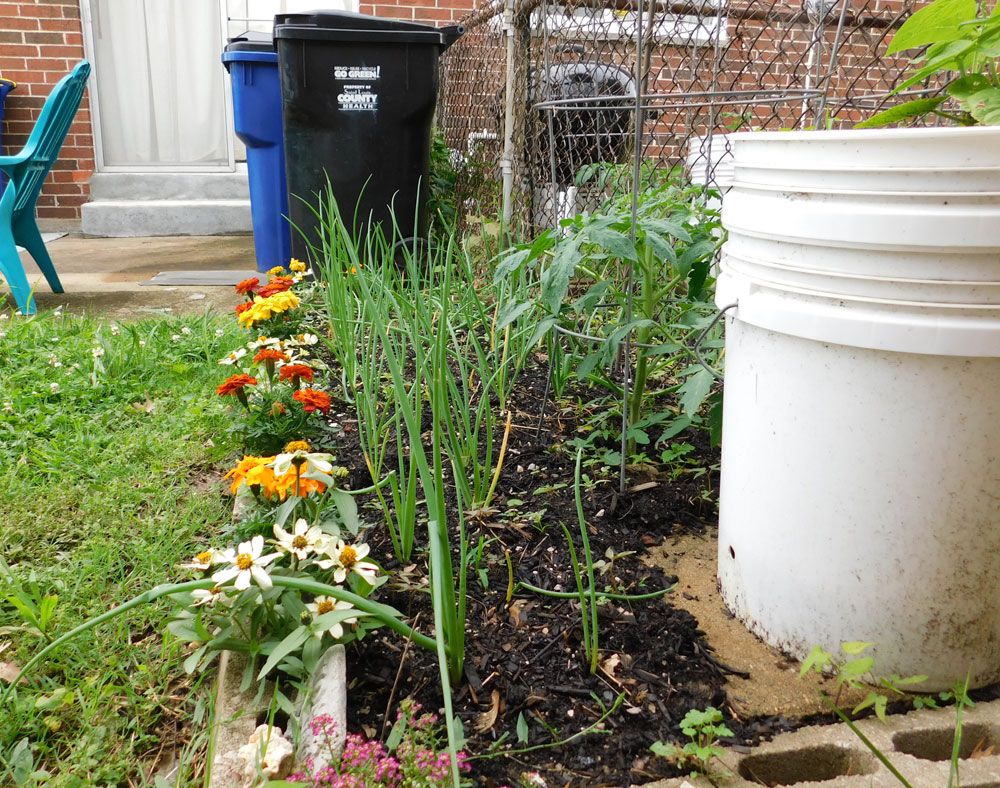
Nicely coming in with just one or two not growing well. I planted those when they had perhaps 1-2" leaves and a few roots. Got about 90 in the bed, half and half reds and yellow candys, though you only see about a third of the bed in this picture. The spacing is tighter than recommended, about 4-5" apart, but I start harvesting early to throw into stir fries and steam. That thins them out some and allows those left to grow bigger. That’s a 5 gallon bucket for size comparison.
My first experiments were with a potato bin, with the intention of adding soil as the plants grew but that didn’t work well.
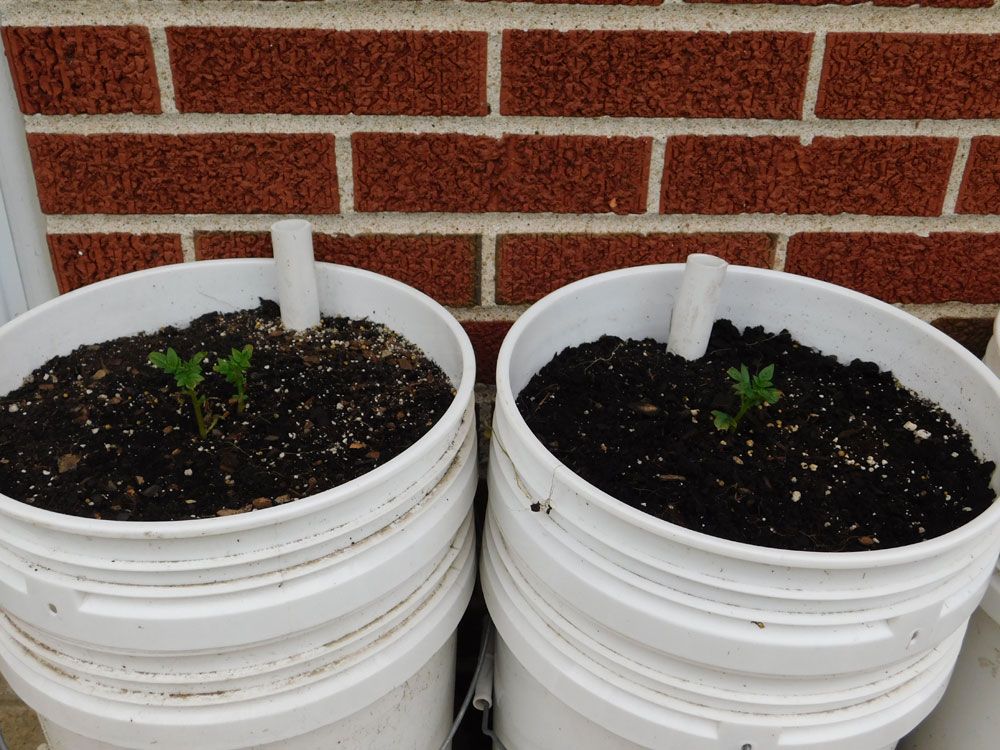
These sprouts will be in the ground this weekend. I will plant them to right below the top of the stem, like I did with these in the 5 gallon buckets. I’m going to plant 6 containers and the rest in the ground to see what kind of yields I get from containers compared with the ground.
These went in a few days ago and already have come up a bit. The roots were 1-2" long and still had a little bit of potato with them. They went in perhaps 2-3" deep.
Long term, I’m hoping to move in with my sister this Winter, but to get some of the raised beds in September/October to prep the soil. I planned on putting a large shed and green house in the back yard in February but held off to protect money in case of problems with the virus so my plans have been pushed back and moved forward.
Many of the things I do in my current garden are meant as learning experiments. To teach me and to serve as tutorials for my website members. I’ve made some pretty good mistakes so far too.
I hadn’t thought through that potatoes grow up from the sprouted one, but that makes sense. I usually mound hay or straw around them anyway. HOWEVER, when they seed themselves, they go amazingly deep. I dug up a clump of chrysanthemums (several beds away) to move and divide them, and well below their root mass, were about a dozen big gorgeous Yukon Gold potatoes. Self-seeded, didn’t even notice they were there, as the foliage mixed in with the chysanths. They also have done really well self-seeded under a mass of oregano, and seem to tolerate the rhubarb patch quite happily too. But the ones that came out of the flower bed were truly exceptional. So potatoes like chrysanths - take note ![]()
Here’s The Essential Gardening and Food Resilience Library, prepared by a PP gardening enthusiast, which contains many helpful books for those looking for experienced guidances on how to grow and store their own food.
Enjoy!
Food storage seems to attract those nasty little white moths to pantries. Before resorting to poisons, even the ‘safe’ ones, try this. The vacuum cleaner. Before washing the shelves, vacuum them. Cuts down on the cleaning work. Be sure to vacuum the under side of the shelves above, and be thorough in the corners. double bag the stuff in the vacuum bag, or zip-lock the stuff from a bagless model, and let the Garbage Gods have it. I have also put bay leaves in jars of pasta, rice, flour, etc. to discourage the pests.
When the pantry is all nice and bug free, I dust diatomaceous earth (food grade!)in the corners and along the back of the shelves. DE is commonly used in grain storage to deter and/or kill bugs. It’s safe; you probably been eating bits of it all your life without realizing it. In fact, there are those who mix a spoonful into water once a day and drink it to make their hair and nails stronger.
FYI, one of the reasons flour sifters were used, way back in the day, was to sift out weevils…just sayin. They are not a new pest and not necessarily a sign of sloppy housekeeping. LOL