There is nothing like a piece of fresh-baked bread and some homemade butter: smooth, creamy and so very tasty. We have several milking goats on our homestead, and we use our daily supply to make a variety of dairy products. Cheese, yogurt, and butter are just a few of the ways we use our goat milk to supply us with nourishing and delicious food.
Today it is time to make butter. We tend to buy very little butter – real butter, that is – but try to keep a pound or two on hand in case we run out. Butter is a product that stores in the freezer really well.
Before we get ahead of ourselves and jump right into how to make butter, let's first talk about what butter is. Butter can be classified as the third stage of milk separation. Whole milk is separated into skim milk and cream, and then the cream is separated into buttermilk and butter fat solids (curd), which is butter. Keep in mind that the buttermilk from butter making is not the same as store-bought "cultured" buttermilk.
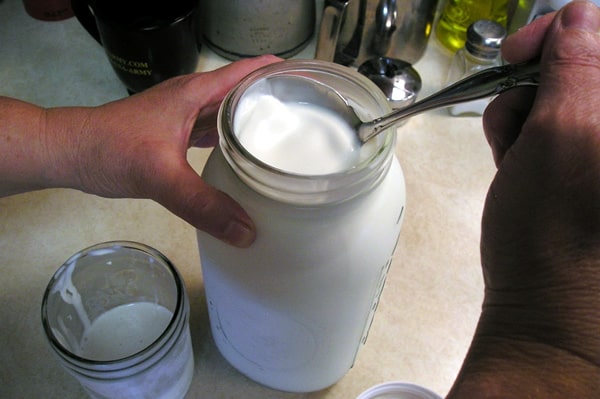
So really, butter can be made from any type of cream, be it cow, goat, sheep, or yak. As long as it has butterfat, you can make it into butter. Goat milk is naturally partially homogenized, which makes it harder to separate compared to cow milk, but it does rise to the top of the jar in such a way that it can be skimmed. We have found that a gravy ladle is the most effective tool for skimming. It is better for taking just the cream and not as much milk.
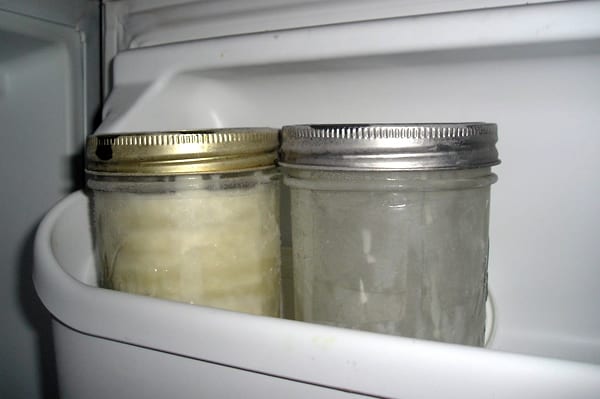
Since we don't get much cream from each half-gallon jar of milk, we keep it frozen in pint jars until we have enough to make butter. Then we thaw out 2 pints when ready to make a batch of butter.
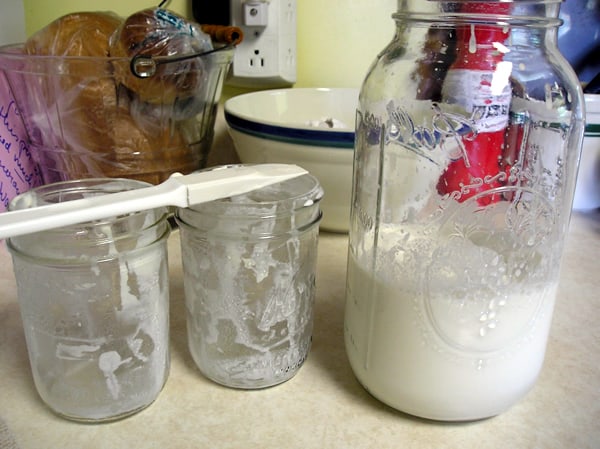
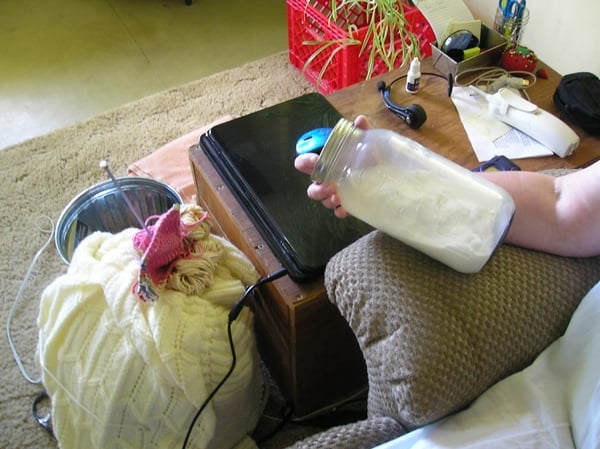
We put the cream into a half-gallon jar and rock it back and forth until the separation occurs between the buttermilk and the butter curd. The back-and-forth shaking of the jar is another way of churning butter. Some folks use a stand mixer to do the churning process. But let's keep things simple and low-tech.
Sometimes this doesn't seem to take long, and sometimes it seems it will never make butter. We haven't timed it to see how long it actually takes. It works better if the cream is refrigerator temperature, so if it thaws out and I am not ready yet, I will put it back in the fridge. One of the nice things about making butter in a jar is that I can do it from the comfort of my recliner while using my laptop!
When the butter forms, there is a definite 'thunk' that is added to the rocking sound. I used to stop at this point, but I have found that the butter is easier to work if I shake it a little longer to make sure it has all come together into one mass.
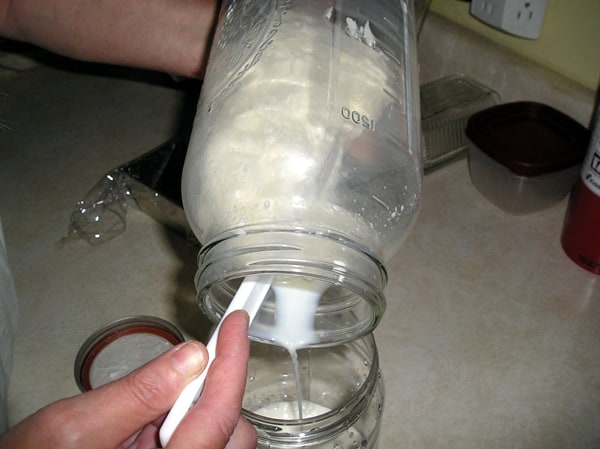
Then I pour off as much of the buttermilk as possible into an old peanut butter jar for the chickens or dog. It can also be saved to use for breadmaking or other baking.
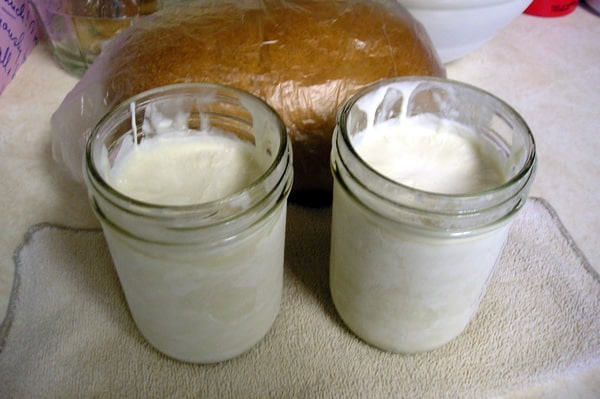
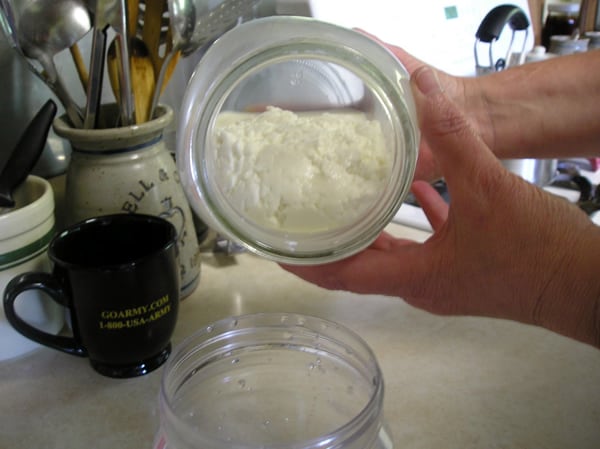
Here is the butter, fresh from the churning jar.
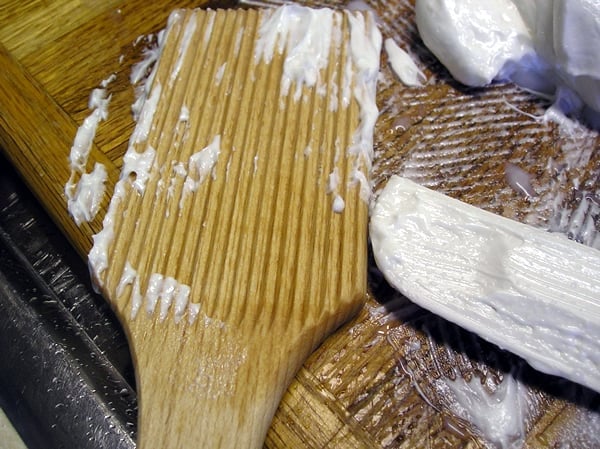
Unlike butter made from cow milk, goat butter is pure white. This is because goats are better at utilizing beta-carotene, which the precursor of vitamin A. The vitamin A in cow milk and butter is primarily in the form of beta-carotene, which gives a yellowish color to the milk and butter. The vitamin A in goat milk is present as the vitamin form, rather than beta-carotene.
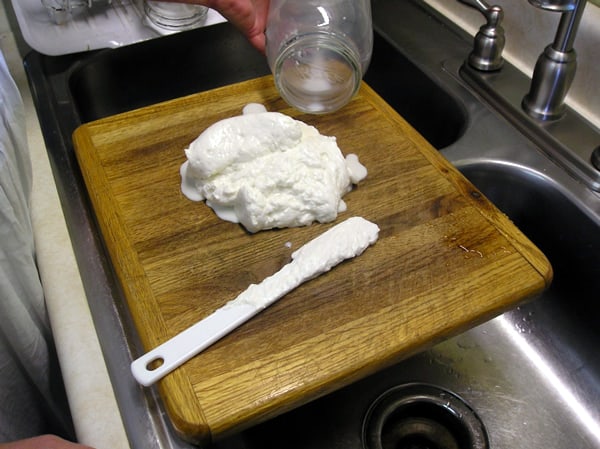
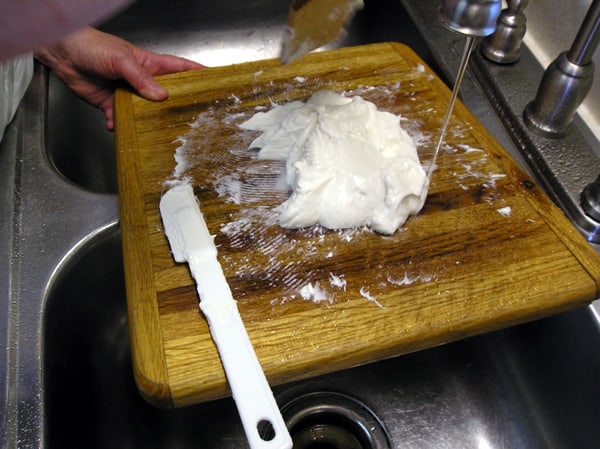
I don't know if there is a more efficient way to wash butter, but this method has worked well for me. I run a small stream of water down the cutting board and work the butter with a rubber spatula over and over until the water runs clear instead of cloudy. This time, though, I am trying out a new butter paddle that I got on sale from Lehman's. It will take some getting used to, but it works just fine.
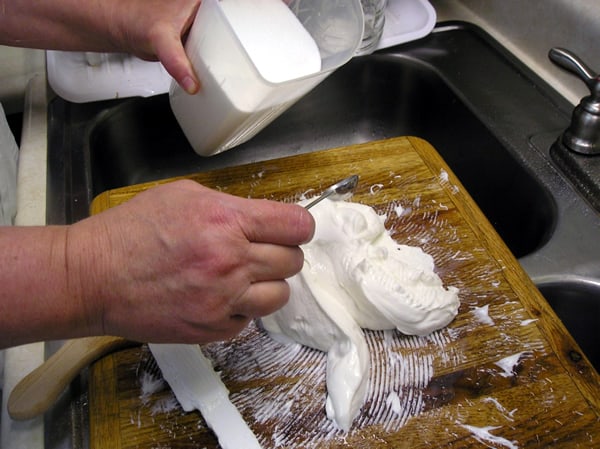
I turn off the water and continue to work the water out. When I am satisfied with getting all the water out, I add about 1/2 teaspoon of salt, more or less. It depends on how much butter I have.
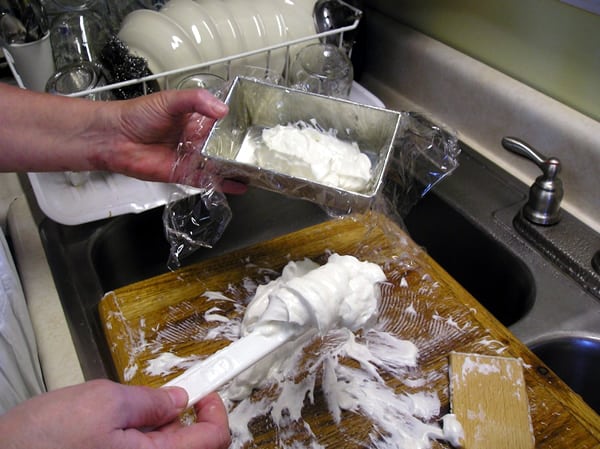
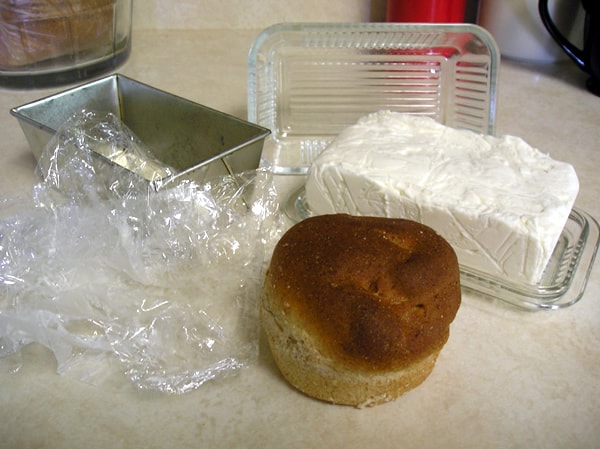
I work that in well, then scoop the butter into a small loaf pan lined with plastic wrap to shape it as it cools. This fits into our butter dish well.
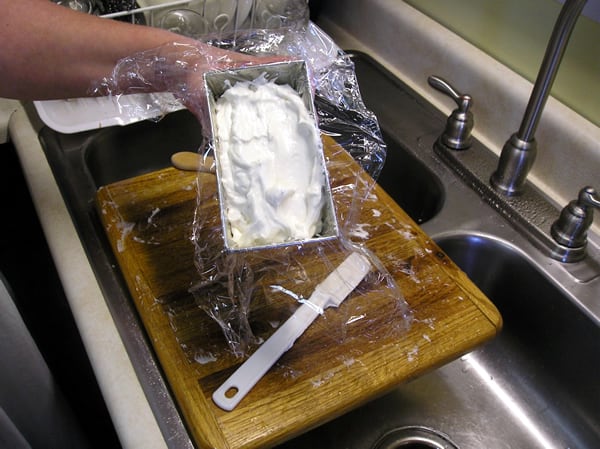
I don't make very big batches of butter, as it tends to go bad since we don't use a whole lot. It does not last as long as store-bought. The two pints of cream make about the right size. I have made more in the past and put half of the batch in the freezer until we need it, but I like the smaller batches better. They are easier to work and faster to churn.
As you can see, the final product of our effort looks great. It is a simple process to make butter, and you can use fresh raw local cream or even store-bought cream to make your own butter at home. And remember, it tastes great on fresh homemade bread! But that is for another post.
~ Frank & Fern
Frank & Fern are a husband and wife team living the homesteading life in southeastern Oklahoma. They have goats, chickens, dogs, cats, and vegetables. More of their adventures can be read at: http://thoughtsfromfrankandfern.blogspot.com/
This is a companion discussion topic for the original entry at https://peakprosperity.com/how-to-make-butter/