Storing extra drinking water in case of a water emergency can save your life.
A major disaster could stop your tap water from flowing for weeks or months. If you don’t find water within a few days, you’re done.
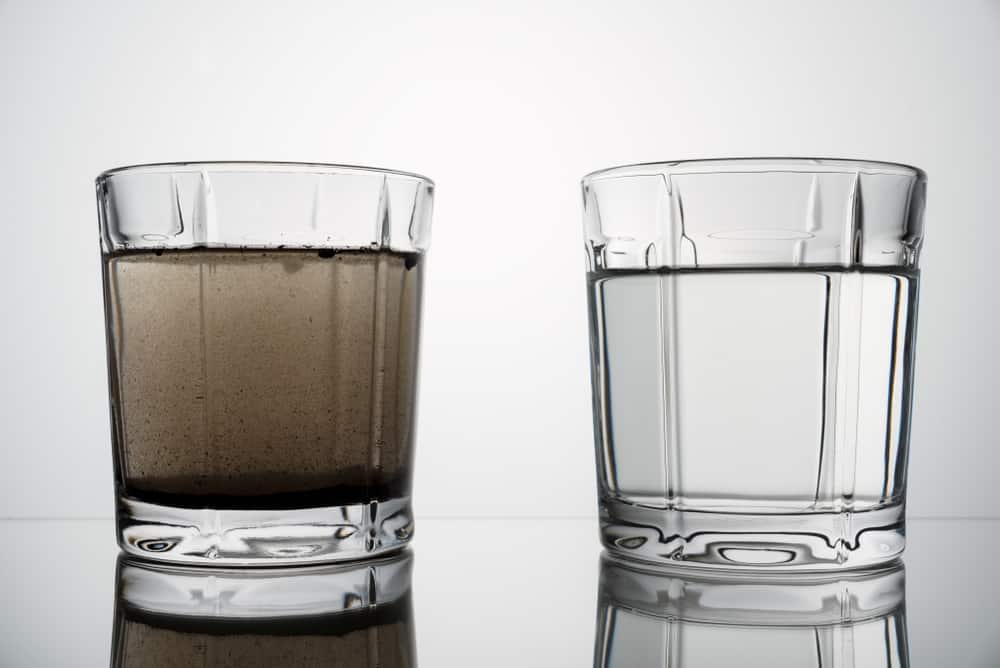
Merely storing water isn’t enough. You need clean water that stays clean in storage. Dirty water kills.
This comprehensive water storage guide will give you the power to:
- Store water safely, both short-term and long-term
- Avoid dangerous mistakes
- Follow all the essential best practices
- Maximize your survival odds if you’re out of good water
Which Disasters Cause Clean Water Shortages?
Floods and other natural disasters can contaminate wells and groundwater with feces, microbes, chemicals, heavy metals and other harmful substances from farms and septic systems.According to a 2019 fact sheet from the Washington State Department of Health, floods sometimes sabotage water treatment plants and dilute disinfectants. They knock out electricity now and then, too.
In 2021, a Williamson County, Texas water company asked customers to boil their tap water after electrical failures in the area disrupted the treatment and distribution systems.
Wildfires cause soil erosion.
Soil erosion delivers contaminants into groundwater and clogs water treatment plant filters.
According to the U.S. Geological Survey, mines can cause chemical reactions that lead to groundwater and surface water pollution.
And then there’s Flint, Michigan.
How Much Water Should You Store?
How long do you want to live after you run out of clean water?For now, let’s look at how much water you will need each day.
How Much Water Per Person for Drinking?
The U.S. Federal Emergency Management Agency (FEMA) recommends at least ½ gallon for each normally active person per day just for drinking purposes. Factors that increase this figure are hot environments, children, high physical activity, nursing mothers and illnesses.
For Food Prep and Hygiene?
FEMA says you will need another ½ gallon per person for these uses.
For Other Uses?
- More water needs to think about:
- Pets and livestock
- Dish washing
- Cooking dehydrated foods
- Making cowboy coffee
- First aid care
Therefore, double that ballpark figure. Store at least two gallons per person per day plus whatever you need for animals. Add a little more if you plan to boil your food, and so on.
Safe Water Storage Container Types
We’ll cover the safest options here. They all work well for short-term and long-term storage.Experts agree that food grade containers the U.S. Food and Drug Administration has approved are the safest. They tend to be more expensive than other containers, though. If they’re not within your budget, other options exist.
Whatever containers you choose in the end, make sure they have never contained anything other than consumable liquids and food. Also, make sure they are sealable.
Before choosing containers, also think about how much of your water stash needs to be portable if you need to evacuate.
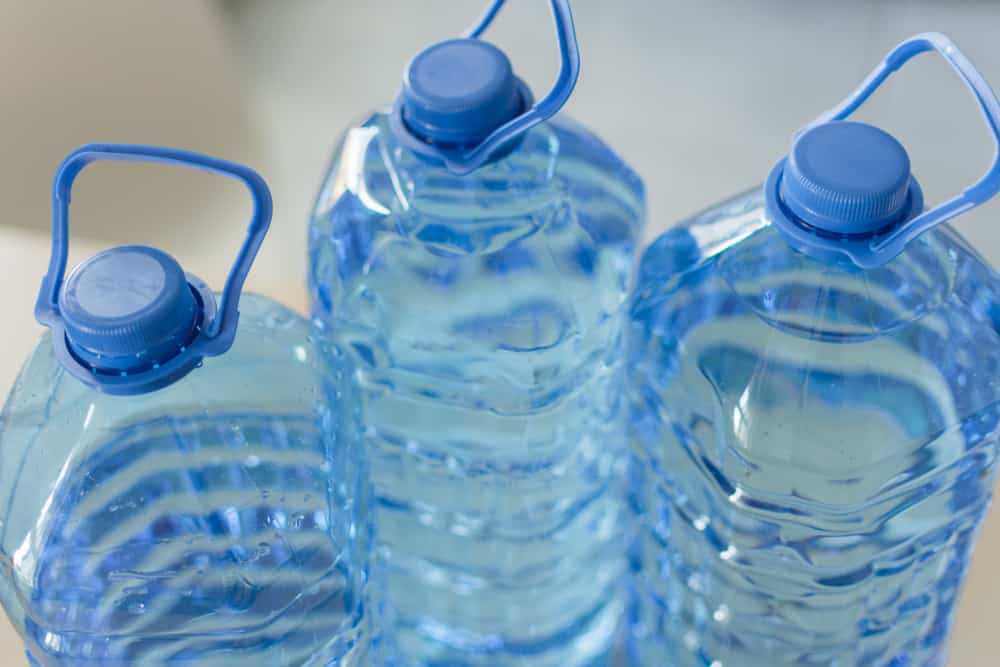
You should always avoid the one-gallon water/milk jugs with thin walls. They degrade after several months and contaminate the water with chemicals. And, they will leak eventually.
Soft drink bottles are controversial. Some experts say they will degrade and taint your water with chemicals. Others say they won’t. They can be hard to sterilize.
Some examples of safe water containers include:
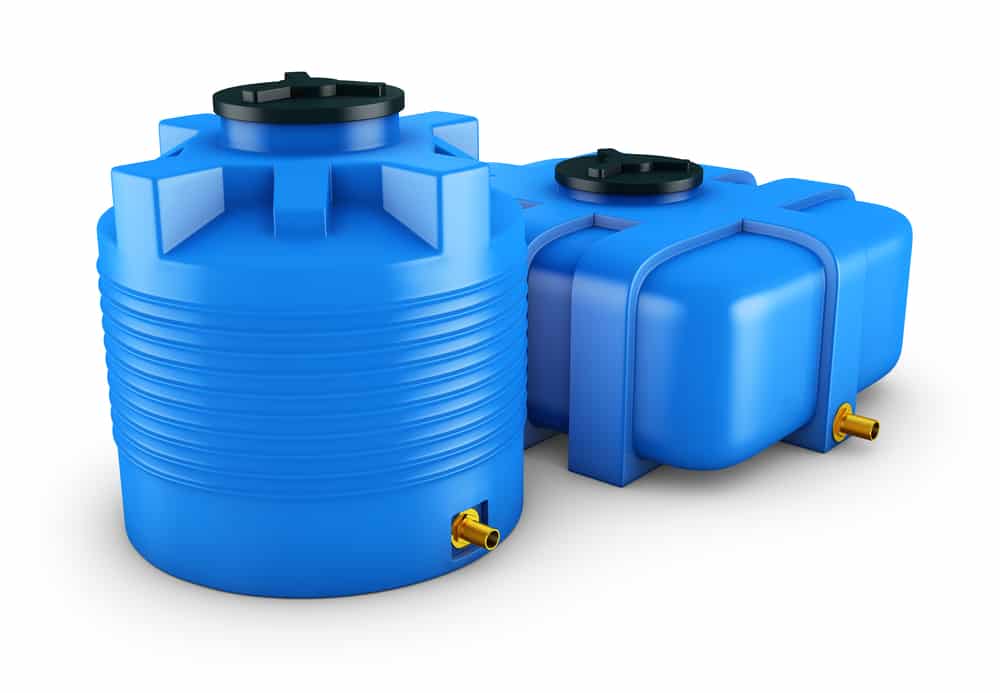
FDA-Approved and BPA-Free Food Grade Plastic“Food grade” means a container is suitable for storing food and beverages.
“BPA-free” means it does not contain bisphenol A (BPA), an industrial chemical.
The sizes of these containers range from tiny soda bottles to 320-gallon storage tank systems. 55-gallon High-density polyethylene (HDPE) barrels come in food grade versions.
If you shop around, you will find containers with tons of different shapes and features.
Pros:
- Food grade
- Lightweight
- You can choose from many shapes and features
- Won’t degrade and infuse chemicals into the water
- Larger ones are harder to move
- 55-gallon barrels may require tools to open them and/or remove water from them
- May be vulnerable to contamination from nearby chemical fumes
Glass
Glass containers work best if each one is a gallon or less. You have lots of bottles and jars to choose from, as long as you can seal them shut.
Pros:
- More eco-friendly than plastic
- No chemical fumes or vapors will penetrate it
- Will not degrade and contaminate the water
- Breaks easily
- It’s heavy
- It’s hard to transport
Stainless steel containers come in a wide range of sizes. Water cans range from five to 10 gallons. Cisterns get really large.
Pros:
- Blocks out the sunlight
- Larger cisterns resist corrosion with chromium
- Shelf life is 50 years
- Chlorine destroys the substance in stainless steel that resists rust
- Water may develop a metallic flavor
- It’s heavier than plastic, so it’s harder to move and transport
How to Sanitize Containers Before Filling Them
General Advice for All Container TypesThe U.S. Centers for Disease Control published a document called Creating and Storing an Emergency Water Supply. Here they offer general advice that works for all container types.
These are their container sanitization instructions verbatim:
Before filling with safe water, use these steps to clean and sanitize water storage containers:
- Wash the storage container and rinse completely with water.
- Sanitize the container with a solution made by mixing 1 teaspoon of unscented liquid household chlorine bleach in one quart of water. Use bleach that contains 5%–9% sodium hypochlorite.
- Cover the container tightly and shake it well. Make sure the sanitizing bleach solution touches all inside surfaces of the container.
- Wait at least 30 seconds and then pour the sanitizing solution out of the container.
- Let the empty sanitized container air-dry before use OR rinse the empty container with safe water (water that has been treated).
- Pour clean water into the sanitized container and cover with a tight lid.
Another warning: Before you try to disinfect a stainless-steel container, talk to the manufacturer or someone who really knows what they’re doing. Don’t use chlorine.
How to Add Clean Water to Your Disinfected Containers
People commonly fill their sterile storage containers with chlorinated municipal water from their faucets. Public health experts almost universally approve of this. You won’t need extra disinfectant. When in doubt, you can always run the water through a filter before consuming it.Do you rely on a well for drinking water and find it suitable for drinking? Your water is ready to go into the new sterile containers.
You are lucky in either of those situations.
Be on the safe side and treat your well water in its new containers before storing it. The easiest way to do this is to use bleach. Scroll down for the instructions.
Rainwater harvesting safety is complicated, so we won’t give advice about that here.
Is your best water source questionable or just plain bad? Skip to the section called “For Water of Questionable Quality.”
Transfer Water Using a Hose
If you use a hose to transfer water from its source to the new containers, use a potable water hose. RV owners supply their vehicles with clean water using these hoses. Connect the hose’s ends together when you store it to avoid contamination.
Never use a garden hose. It will likely contaminate your water with chemicals and heavy metals, according to a 2016 study by Ecocenter in Ann Arbor, Michigan.
Transfer Water Using a Container
If you transfer water from the source to the destination containers using another container, use one that’s food grade. Sanitize it as thoroughly as you sanitized the destination containers. Avoid contamination through the whole process.
If you do not need to treat your water for sanitary purposes after the transfer, seal the containers and store them.
How to Treat Water Before Storage to Ensure Safety
For Non-Chlorinated Well WaterYou should treat non-chlorinated well water with a disinfectant. Even if you find it to be reliable after it comes out of your faucet, chlorine will help keep microbes from multiplying.
The most common way to treat the water is to disinfect it with sodium hypochlorite solution (bleach).
Will chlorine bleach kill everything? Usually, but there’s no 100% guarantee that any disinfectant will kill everything. According to the CDC, “Except for boiling, few of the water treatment methods are 100% effective in removing all pathogens.”
The quote comes from a report called A Guide to Drinking Water Treatment and Sanitation for Backcountry and Travel Use.
The report says boiling is 100% effective under these conditions: “Water should be brought to a rolling boil for 1 minute. At altitudes greater than 6,562 feet (greater than 2000 meters), you should boil water for 3 minutes.”
Should you boil it? Not if it’s the well water you drink every day anyway. Save your fuel for a more desperate situation.
CDC’s Recommendations for Treating Water Using Bleach
This is a great protocol to follow for non-chlorinated well water. It also works for re-treating well water or chlorinated municipal water several months after storing it.
These recommendations assume the bleach is unscented and has a 5% - 9% concentration of sodium hypochlorite.
For every gallon of water, add ½ ml or eight drops or a little less than 1/8 teaspoon of bleach.
If the water is cloudy, murky, colored, or very cold, add double the amount of bleach.
Stir it well so it assimilates into the water
Let it stand at least 30 minutes before drinking if you plan to drink it.
Clorox Adds Another Recommendation
Kylene Jones, co-owner of The Provident Prepper website, asked Clorox for their official water treatment recommendations in 2018.
They recommend the same amounts of bleach per gallon as the CDC, but they add extra steps.
Here are some of those steps: After stirring, let it stand for at least 30 minutes. Then smell the mixture. If you can’t smell the bleach, then add the same amount of bleach you added earlier. Stir it again. Wait 15 minutes and smell it again.
Why Calcium Hypochlorite is So Much Cooler Than Bleach
Bleach’s active ingredient is sodium hypochlorite. Calcium hypochlorite basically does the same things, but it has some amazing advantages over bleach.
It’s Way CheaperThe powdered form of calcium hypochlorite is far more cost effective than bleach. One-fourth teaspoon of powder will treat 55 gallons of water.
Its Shelf Life is Way LongerThe shelf life of calcium hypochlorite powder is 10 years. The shelf life of bleach is about one year from production under ideal storage conditions. It weakens quickly over time.
But There’s a Slight Learning CurveYou will need to make a 5% chlorine stock solution with the powder to disinfect water with it. Find instructions for that.
Get Over the Curve, and Enjoy the RewardsOnce you make a bottle of solution, you can pretend that it’s normal bleach. Just follow the CDC and Clorox recommendations for treating water above and use the same quantities you would use for bleach.
Make the solution in small batches as needed because it will degrade like bleach solution.
For Water of Questionable Quality
You may be in a situation with no good water choices. If you have time to find good water, do it. If not, don’t be that person who sticks a pitcher filter in the creek and chugs whatever makes it through. That’s called attempted suicide.Instead, these two great resources could save your life…
FEMA: Food and Water in an Emergency
CDC: Making Water Safe in an Emergency
Read them thoroughly and don’t mess up.
Even if you’re not in an emergency, they could teach you a lot about boiling, ultraviolet light techniques, solar disinfection, pathogens, little-known sources of good water and much more.
Where and How to Store Your Water and Keep it Safe
When choosing your storage environment, do whatever you can to adhere to the tips below. They are the most common tips. They represent a general consensus among health professionals, preppers and others who share an interest in safe water storage practices.Always keep your water in a cool and dark storage environment. This keeps mold, bacteria and other microbes from multiplying.
Maintain an air temperature range that’s between 50- and 70-degrees Fahrenheit.
Don’t let any direct sunlight shine down on your H2O. Light and heat encourage algae and other undesirables to flourish. Sunlight is especially harsh plastic containers because it breaks down the plastic.
Use opaque containers if possible and cover non-opaque containers that allow light in. Use tarps, blanks or whatever makes sense.
No chemicals that emit vapors or fumes should be hanging out near your stash. Fumes and vapors can penetrate plastic. They may even find their way into other types of containers as well.
No chemicals that could potentially leak from their containers should be near your stash either.
Add a label to each container that shows the storage date and the water’s intended purpose.
How to Remove Stored Water from the Container Safely
Once again, the CDC provides clear and concise instructions for this. The document is called Creating and Storing an Emergency Water Supply. We’ll just quote it directly.Tips for removing safe water out of the container:
- If using a scoop or other device, use a clean one each time you remove safe water from the storage container to help avoid contaminating the water.
- Before scooping out the safe water, try not to touch the water or insides of the container with your hands.
- Never scoop safe water with your hands.
How to Know Your Water is Contaminated
After you remove stored water from the container and before using it, inspect it.Signs of contamination:
- Brown or orange hue
- Green algae growth
- Oily films floating on the surface
- Anything strange floating on the surface
- Weird colors, smells or flavors
- Cloudy appearance
- This is not an exhaustive list. When in doubt, throw it out.
Don’t mistake oxygen-free water for bad water! Stored water lacks oxygen. Oxygen-free water often has a strange and “flat” flavor. A lot of people confuse this with contamination.
Fix: Stir the water or shake it in the cup. You can also pour it back and forth between two cups. This will allow oxygen to enter the water and give it a normal taste again. Sometimes, you’ll have to let it collect air for up to a few hours for full recovery.
When and How to Rotate Water for Long-Term Storage Safety
How Often Should You Rotate Your Water?The purpose of replacing stored water is to minimize the chances of pathogen growth.
If you want to play it safe and follow CDC advice, then here it is verbatim: “Replace non-store-bought water every 6 months.”
If you ask a lot of preppers and homesteaders that question, you’ll get a lot of different answers. Some will be based on solid experience and sound logic. Others may come from hearsay. Use your best judgment and ask questions.
How Do You Rotate Water Safely?
First, get rid of the old water. You can put it in non-sterile containers and repurpose it for watering gardens, washing your car, etc.
If your containers are fit for reuse, sterilize them. Then start the prep and storage process all over again.
Don’t Get Caught in Short Supply
In many communities, access to sufficient clean drinking water is a luxury we are able to take for granted. Unfortunately, natural disasters and various man-made catastrophes (deliberate and accidental) can easily and quickly disrupt our water supplies, whether it be at the source or during the distribution process.Given the critical nature of this resource, we cannot and should not leave anything to chance. If you haven’t taken the time to consider your options and take appropriate action, now is the time before the unexpected becomes reality.
This is a companion discussion topic for the original entry at https://peakprosperity.com/water-storage-tips-to-live-by/