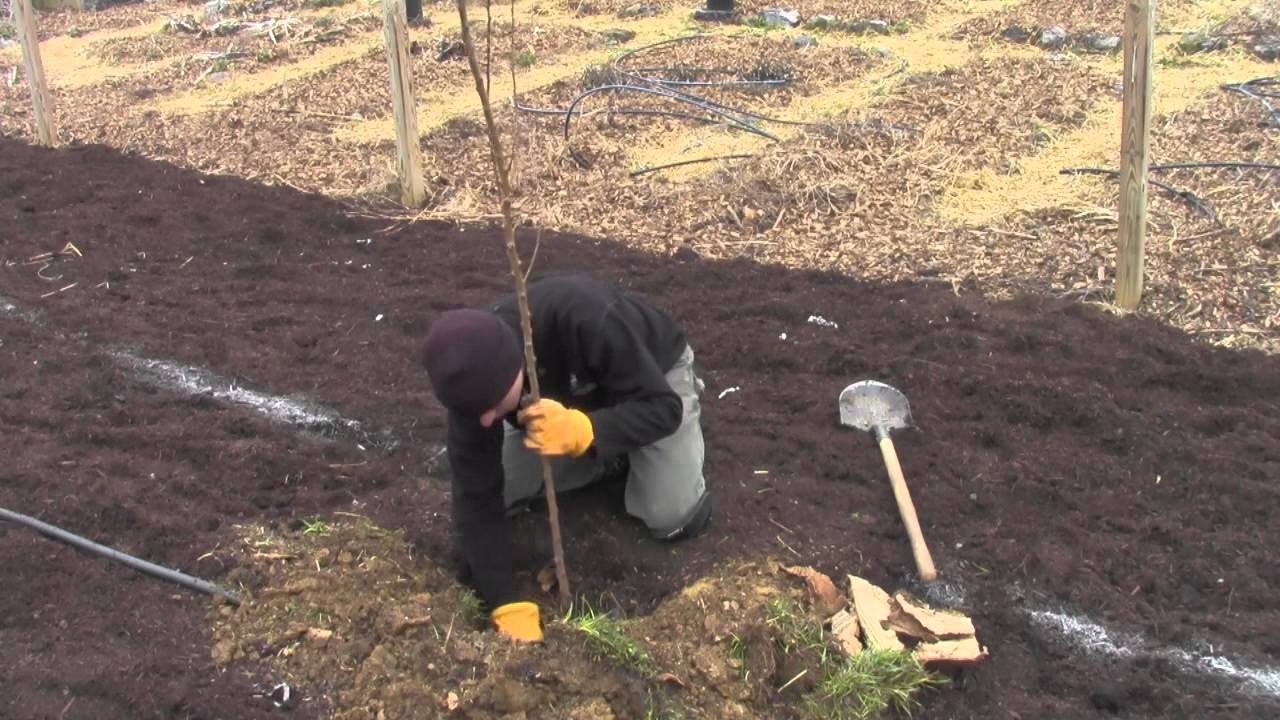
I’ve been planning a food forest project over the winter. My plan was to reduce the size of my annual garden, remove grass space, add diversity, and future habitat for ducks in the form of a zone 1 and 2 food forest. My plan was to have at least one nitrogen fixer per productive fruit tree, comfrey under fruit trees, and to use higher value and higher maintenance grafted fruit trees.
I feel that it is appropriate to have some grafted fruit trees in zone 1 & 2 because maintenance is easier close in, and management is more intensive in this space. When you move out to zone 3 & 4 I feel grafted fruit trees are not appropriate as maintenance should be less here. My zone 3 & 4 food forests contain native non-grafted species that do not require much maintenance but also produce lower quality fruit. There are three main areas that I designed.
Area 1
My mandala garden has been annually cropped for a couple of seasons. I’ve decided to move my broad acre annuals out to a rotated chicken paddock in zone 2 and to some swales and ditches in zone 3. Plants like corn, squash, and potatoes can all be harvested in one shot, and they take up a lot of space. By doing this, my zone 1 garden is much too large, so I converted half of my garden to food forest. The plants are still young, so I will still be able to annually crop for a few years while the plants are growing. The mandala garden was planted with low growing shrubs, herbs, and small trees. I added wood chips as a groundcover. I did not want to have an upper canopy layer here, as there is more food forest area behind the mandala garden.
Zone 1 Food Forest Mandala Garden (Area 1 & 2)
Area 2
Behind the mandala garden, I have a row of cherries and apples with an understory of goumi, clover, comfrey, garlic, and chives. There is an area of grass, that I sheet mulched and added more diversity of trees, shrubs, vines, and herbs. Area 1 already had raspberries, blackberries, and goumi growing along the fence, but Area 2 had unplanted fencing, so I added maypop and goji berry to climb on the fence.
Area 3
This area upslope from my annual garden had a wide swath of grass in between a small food forest. I sheet mulched the grass, added additional food forest, but left a tractor laneway in clover and wildflowers as a buffer between the food forest and the annual garden. This area was sloped enough to use net and pan drainage to help irrigate the young trees.
Zone 2 Food Forest (Area 3)
Plants Chosen
Large Trees
- Peach
- Apricot
- Alder (N-fixer)
Small Trees
- Shipova
- Jujube
- Cornelian Cherry Dogwood
Shrubs
- High Bush Cranberry
- Siberian Pea (N-fixer)
- Seaberry (N-fixer)
- Bayberry (N-fixer)
- Sand Cherry
- Gooseberry
- Honey Berry
Vines
- Grapes
- Maypop
- Goji Berry
Roots
- Horseradish (Can be invasive, keep out of zone 1)
- Comfrey
Groundcover/ Herbs
- Clover (N-fixer)
- Garlic
- Cilantro
- Chives
Sourcing Cardboard
The majority of my cardboard came from a nearby appliance store. I made approximately eight trips to the store over a four month period. Appliance stores are great because usually the boxes are very large and already broken down. I also got a few pieces from a nearby cardboard dumpster.
Yes, we pulled cardboard out of a dumpster.
Step by Step, How I Established the Food Forest with Sheet Mulching
1. Wet the ground if it is dry.
2. Apply coating of manure to feed the soil life.
3. Apply cardboard on a calm day.
4. Wet cardboard to help the soil life break it down.
Cardboard or Newspaper for Weed Suppression
5. Add 3-4 inches of compost.
6. Plant trees, shrubs, vines, and roots. (This was mostly done with bare root plant stock, which is cheaper than potted plants.)
7. Make trench connecting trees and shrubs to form net and pan drainage. (In my climate, I get 48 inches of rain per year, so this is unnecessary and maybe detrimental on flat ground, but this was on a slope.)
Net & Pan (Sorry for the poor picture. You can see where the straw got stuck in the ditches emanating from the tree ring ditch.)
8. Seed in herbs and groundcovers. (I inoculated the clover seed with the proper bacteria before planting it. This will ensure that it fixes nitrogen.)
9. Add light coating of straw over seed.
10. Mulch trees, shrubs, and vines.
11. Water.
~ Phil Williams
Phil Williams is a permaculture consultant and designer and creator of the website foodproduction101.com. He is also the author of numerous books, most recently, Fire the Landscaper and Farmer Phil's Permaculture. His website provides useful, timely information for the experienced or beginning gardener, landscaper, or permaculturalist. Phil's personal goals are to build soil, restore and regenerate degraded landscapes, grow and raise an abundance of healthy food of great variety, design and install resilient permaculture gardens in the most efficient manner possible, and teach others along the way.
This is a companion discussion topic for the original entry at https://peakprosperity.com/zone-1-2-food-forestry-project/
